Sunday, January 21, 2018

POOHresley is THREE

I've said it before but I'll say it again, I CAN'T BELIEVE MY BABY IS THREE! Geez where does the time go. It's been a little over a year now since her Winnie the Pooh obsession began so I thought it'd be the perfect theme for her birthday this year. Plus there's so much material so I thought it'd be really fun to plan/craft for.

Come join us in the Hundred Acre Wood to celebrate POOHresley’s third birthday! We will have some smackerels to eat plus a few good friends and a stick or two. It will be as sweet as a pot of hunny. We hope you can join us!

I wrote most of this blog post in October before baby Leo got here because I'm crazy. OR am I actually smart?? Eh? A good portion of my pre-baby to-do list included all of the things I wanted to make for Presley's birthday party. I knew I wouldn't be up to going all-out with a 3 year old and 2 month old so I wanted to get the majority of the crafting done while I had the time/energy. I love little details and wanted to spend the time I could making this party just POOHfect for my POOHresley.

I did my typical buy one thing at a time at Hobby Lobby method because it works for me. Here's how that works: I sat down one night and researched and planned the whole party like 6 months in advance. I wrote a list of everything I wanted to make and everything I needed to do so. I put it on my phone and every time I went to Hobby Lobby I bought one thing for the party with my 40% off coupon. OR if something I needed was already on sale I'd just buy it then. HL is 2 minutes from me and I go like 3 times a week and I realize that this is a weird thing to do so this method isn't realistic for most people. BUT for me it works and in the end the whole party (sans the food) ends up being 40-50% off! It really does add up and I usually end up saving $50-100 doing it this way. I'm a psycho planner so doing it this way just comes unusually natural for me. 

Here are the things I made:
Hunny pots
"Happy Birthday" banner
"Pres" banner for mantle wreath
Paper leaves for the big paper tree
Tree made from brown wrapping paper (2 rolls)
Bees+bee hives to hang from the ceiling
Misc paper signs 'TTFN", "For the rumbly in your tumbly", etc
Cardboard signs for the door "Mr Sanderz" and "Rnig Also"
Little honey jars w/ bee fabric + Pooh quote (party favors)
Rabbit's garden wood signs
"Pooh and Presley corner" wood sign
Wood slice chalkboard with Pooh quote
Pin the tail on Eeyore
Wood slice food labels

Things I bought/already had/borrowed:
Little woodland creatures
Acorns 
Burlap table runners
Little straw hat for Rabbit's garden
Little watering can for Rabbit's garden
Little wooden food signs
Big balloon + Pooh
Lots of Command hooks and stickers to attach things to the wall/ceiling
Fresh flowers (got mine at Kroger)

Food:
Beehive cake + cupcakes
Rotini pasta salad (Tigger tails) [from Tazikis]
Vegi tray with ranch (Vegetables from Rabbit's Garden) [Costco]
Applesauce pouches (Kanga's pouch) [GoGo Squeeze from Costco]
Hot ham sandwiches (Hunny Ham Sandwiches)
Pigs in a blanket (Pig(let)s in a Blanket) [frozen from Costco]
Pink punch (Piglet's Pink Lemonade)
Sweet Tea (Tigger Tea) [Milo's sweet tea]
Honey for party favor honey jars

I think that a great themed party is all in the little details. I like for it to be an immersive experience from the second you walk in. I decorated the front door like Pooh's house, complete with Rabbit's garden.


I downloaded  a few songs to have playing in the main room that you could hear when you opened the door. The playlist included the Winnie the Pooh theme song, A Few Good Friends (from Piglet's Big Movie), Little Black Rain Cloud, Rumbly in my Tumbly, etc). Along with this TRULY MASSIVE BALLOON HAVE YOU EVER SEEN SUCH A THING??? I bought it at Hobby Lobby thinking it was going to be a little bigger than a regular balloon. I sent Matt with it when he went to go pickup the balloons the day of the party. Then he came home with THIS and I couldn't stop LOLing. They charged him $10 to blow it up because it was so huge. So the entry hall was the only place it'd fit and not be in the way. And it legit took up the whole room. This pleased me.


"For the Rumbly in your Tumbly"


And the main room! And duh the best one because it had all of the food.


For the beehives I just got a 3-pack of yellow paper lanterns at Hobby Lobby and made some little bees and glued them on. I made the bees out of tiny wooden pots from Joanne (lol that they make these), paint, little black pom poms, iridescent translucent white paper for the wings, and skinny black beads for the stinger. I hung them to the ceiling with Command hooks that don't hurt the paint.

For the tree I legit had no idea what I was doing and really can't really tell you exactly what I did because I don't really know. It's made of 1.5 rolls of brown wrapping paper from Hobby Lobby. I just crumpled it up and attached to the wall with Command strips. I got 10ish sheets of green paper in different tones and cut leaves out. After I got the tree up I hot glued them on. I got the little squirrel at Michaels.


I got the big wood slice above from Hobby Lobby painted it with chalkboard paint and wrote a cute Pooh quote:

"Sometimes the smallest things take up the most room in your heart"

I also liked using some of the 80 Pooh books we had in my decor. I used the little wood slices to write the names of food on in a big bag for $4 at Hobby Lobby as well.


This table had plates, napkins, forks, Presley's special cupcake, party favors and the guest book (a Pooh book that I had everyone sign).


I made these little jars and filled them with honey for party favors.


I had some simple decor on the kitchen table:

And here's the living room! I got this cute window at a garage sale across the street a year ago for ONE DOLLAR! I hung a cheap grapevine wreath from it with a little banner I made with Presley's nickname on it. The shutters always live on my mantle so I just used little clothespins to hang my favorite Pres pics up. I made the "Happy Birthday" banner with cute paper I cut out and glued to twine.

But my favorite part is my floating Pooh. It's just clear thread that I sewed through the top of Pooh's head and hung with a Command hook. I also sewed his hands together then I just tied a balloon to him. Matt and I got Presley this Pooh in the Magic Kingdom when we went to Disney World a few years ago. This was a good year before the Pooh obsession began. Nailed it.


We served drinks at our bar (as you do at a bar). We had water, cucumber water, a pink punch (Piglet's Pink Punch), sweet tea (Tigger Tea), Coke and Diet Coke. I got the cute red fan things at Hobby Lobby. It was like $6 for 6 of them (and of course I used my coupon so they were super cheap).


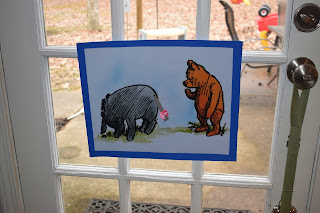
We also had pin the tail on Eeyore but totes forgot to play. 


But I can't forget my very favorite part, my very own little Christopher Robin. I got the shirt/pants on Kohls.com then got white fabric paint and painted the shirt to look like Christopher. I got the red mocassins on Ebay for $5 and just cut the fringe off.


Here are a few more pics!


LOL at our family pic.


That's about it! Thanks so much for reading.

TTFN! TaTa for Now!!


Thursday, November 16, 2017

Little Leo's Nursery

Our sweet boy, Jack Lennon "Leo" Hedgepeth, was born on November 2 weighing 8 lbs 6 oz.


I can't believe it! All of the sudden we have TWO children! I can't begin to explain how much joy these little people bring me. I love being their mom so much. This pregnancy was alot more rough on me than the last (hence the lack of blog posts) but this sweet boy is so worth it. And his big sister loves him so much. GEEEEZZZ is it possible for my heart to literally explode? I think it might explode. I'm so tired but so thankful. So much love for all of my Hedges, big and small. 

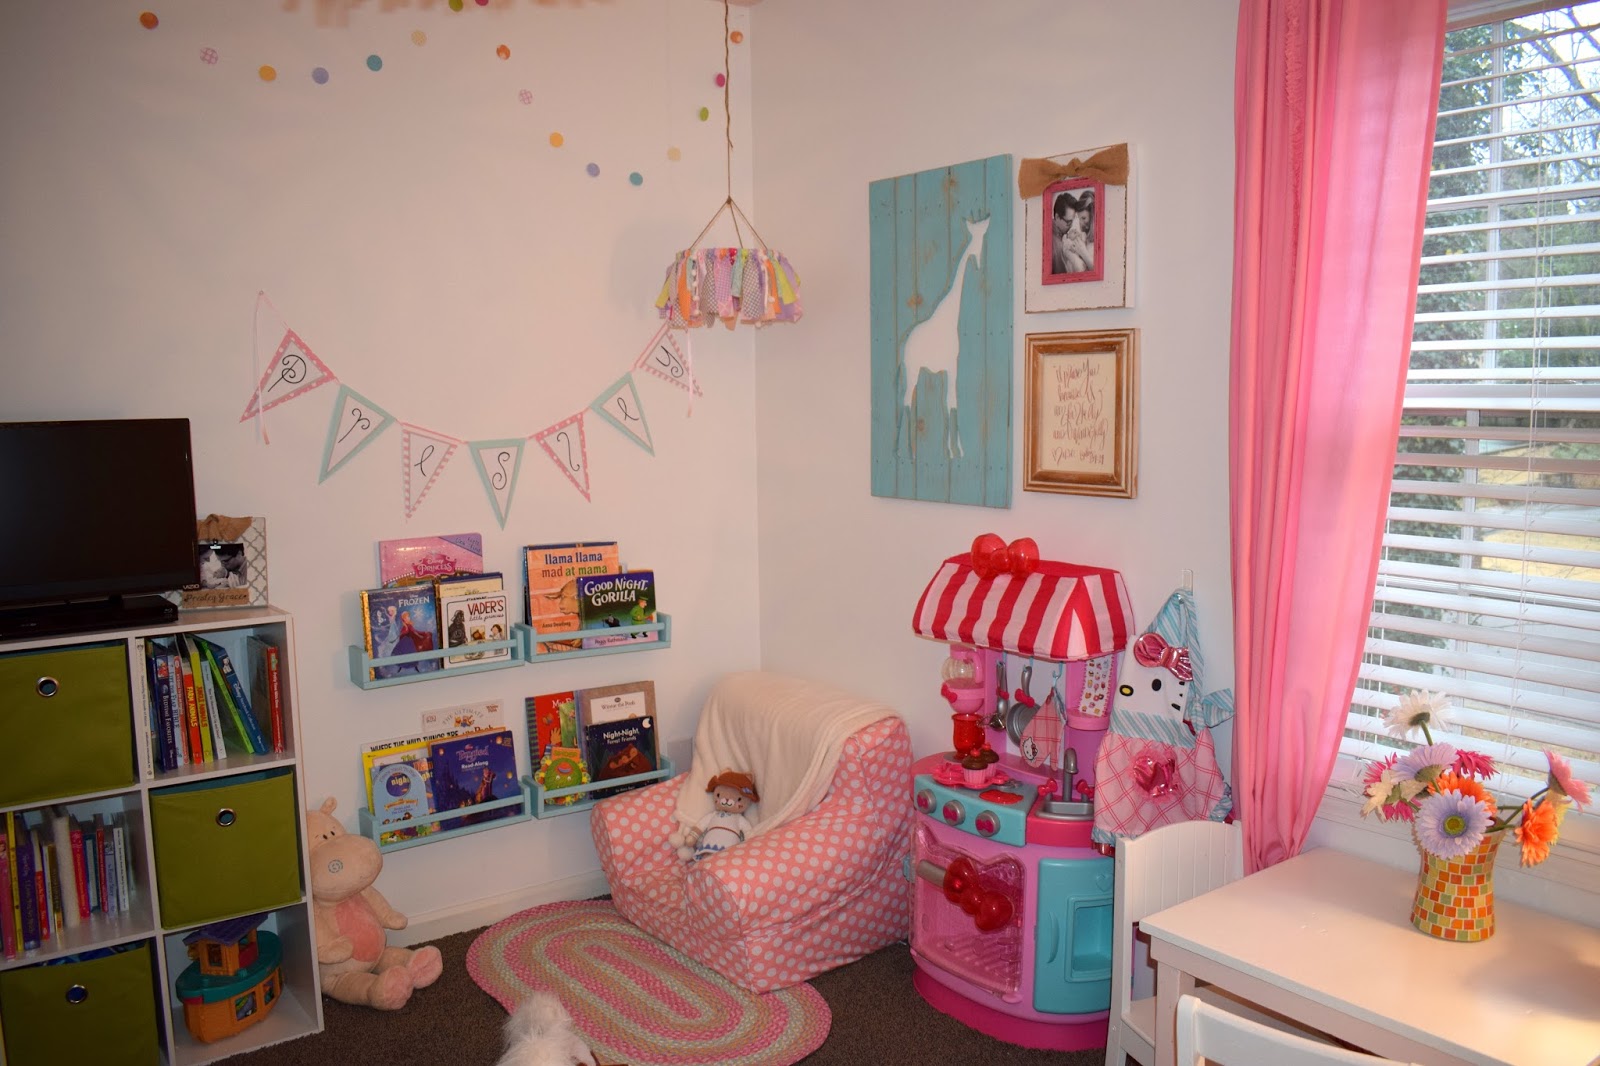
A few months ago we moved Presley to her big girl bed that's been waiting for her for quite a while. She loves it. She immediately started referring to her old nursery as "Babbby Brodder's room." She understood it right away. I'm moving up so little brother can move in here. I'm always amazed at what she comprehends. In my mind she's still like 2 months old. But she's like almost 3 sooooo I guess it's about that time. I'm so proud of how excited she's been leading up till now and how helpful and sweet she's been with her baby brother.


So for his nursery I wanted it to be kinda simple and neutral. No theme really. I worked on it for months and months, starting the week I found out we were having a boy back in May. I decorated and redecorated (per my usual self) until I got it right. It took me a while. Idk why I couldn't quite figure out what I was doing. I lose a good 75% of the creative side of my brain when I'm pregnant but my nesting portion explodes by like 239023%. So like I have the desire but I don't know what I'm doing.  Anyways, it is what it is and this is as good as I could do. Here are some pics!


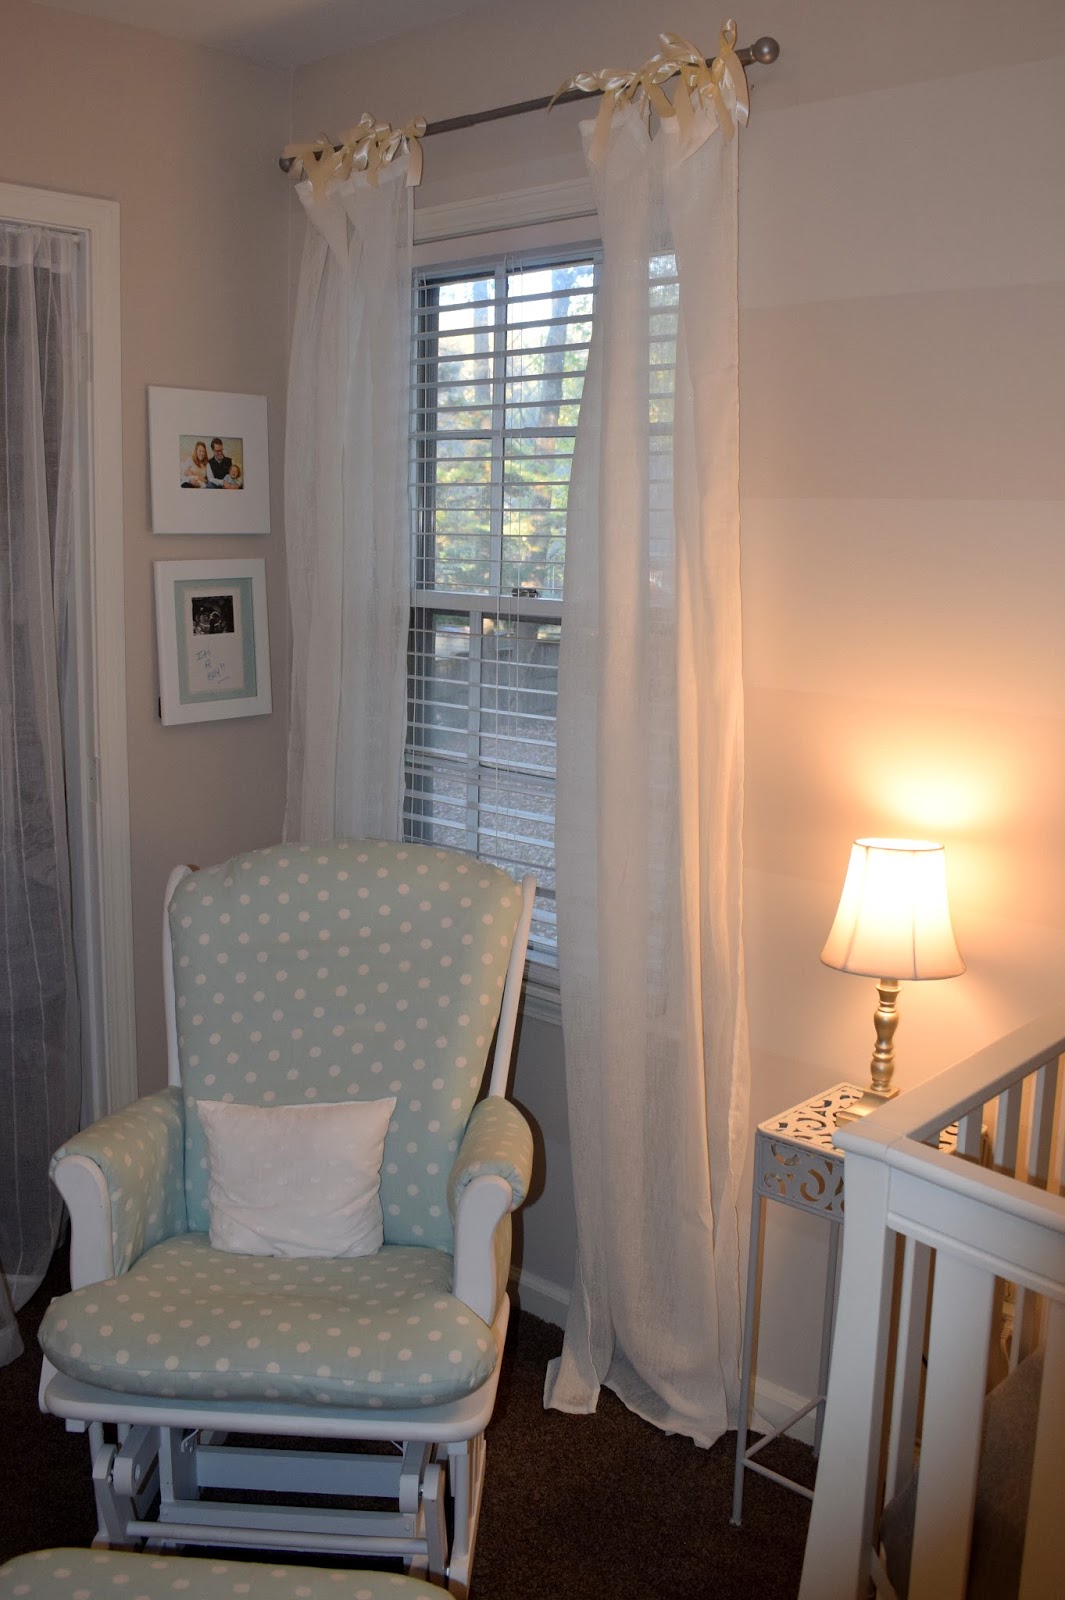
When I was pregnant with Pres our mom's painted her nursery while Matt and I were babymoon cruisin in Alaska. I picked out a neutral color so that if we had a boy in the future (nailed it) we wouldn't have to repaint. The focal wall has thick, tonal neutral stripes to add a little something interesting. The colors are White Clay and Sandstone Cove by Behr. The main room color is the darker one, Sandstone Cove. We did paint the closet pink originally so we had to go ahead and paint it to match the rest of the room too. So a little painting was involved but not much (thanks, Matty). I also went blue/white polka dots when I recovered the glider for her room so that it could easily transition to boy if it needed to one day (nailed it again).


So there really wasn't much to this room that required alot of skill. I basically took Presley's nursery and tweaked it and made it boy-friendly. The things that were pink (like frames, a little table, etc) I just painted blue or white or gray. I kept the same layout of everything because it worked. 

The main thing was the dresser. We moved Presley's big, pink dresser to her new bedroom and bought a new one for BOY's room. I found it on a FB resale page for $75. It was scratched up but a nice piece of furniture. Plus I knew I'd paint it so I didn't care what condition it was in as long as it was sturdy. I bought new brushed nickel hardware for it on Ebay. The spacing for the handles was abnormal so I couldn't find those sizes at Lowes or Home Depot which is why I looked online. However that turned out to be MUCH cheaper anyways. I did end up having to drill some new holes for the single knobs on the top drawers and putty/sand the 2 holes left behind. I couldn't find the right size handles that matched the handles at the bottom (they were 2 different sizes). So anyways, finding the hardware and redoing it a little was a bit of a challenge but not too bad. Just alot of internet searches. I painted it Annie Sloan's Paris Grey with just a clear sealant from Lowes. Before I sealed it I sanded the edges a little bit as well. I just love it! I also found cute contact liner paper on Walmart.com of all places and covered all of the drawer bottoms. One package was all I needed. I got the clear organizer bins at The Dollar Tree (THEY HAVE SO MANY GREAT THINGS!!!). I got the hamper at Burlington for like $10. BTW Burlington is awesome. They have weird things but if you look hard enough you can find some really cheap/great treasures. They especially have good baby stuff. The cute, acrylic lamp came from Hobby Lobby on sale 66% off for about $15. I loved it so much I bought both of the ones they had (other one was very slightly different) and put it in Presley's room on her dresser. I glued a cute, white trim around the bottom of her lamp shade to make it a little different/more feminine but I kept Leo's plain.


My mom actually got these shutters for me at a local antique mall 3.5 years ago. I was pregnant with Presley and SO sure she was a boy. I had his nursery all planned out and knew I wanted shutters. She saw these and bought them then SURPRISE it's a girl! So I've literally had them for forever just waiting to use them in my boy's nursery one day. My time has come. My father-in-law cut them into 4 pieces and I painted them blue. They were such a pain to paint because SO MANY CREVICES! CREVASSES! (HOW DO YOU SPELL THAT WORD??) I've painted lots of shutters before because I'm strangely obsessed with them and they're all over my house but these were harder because they were so dark originally. I ended up using some chalk paint I had (Hobby Lobby brand for $8...love this stuff for smaller projects because it works pretty well and it's super affordable. Plus you can use your 40% off coupon!) That provided a much easier base to paint over than bare, dark wood.

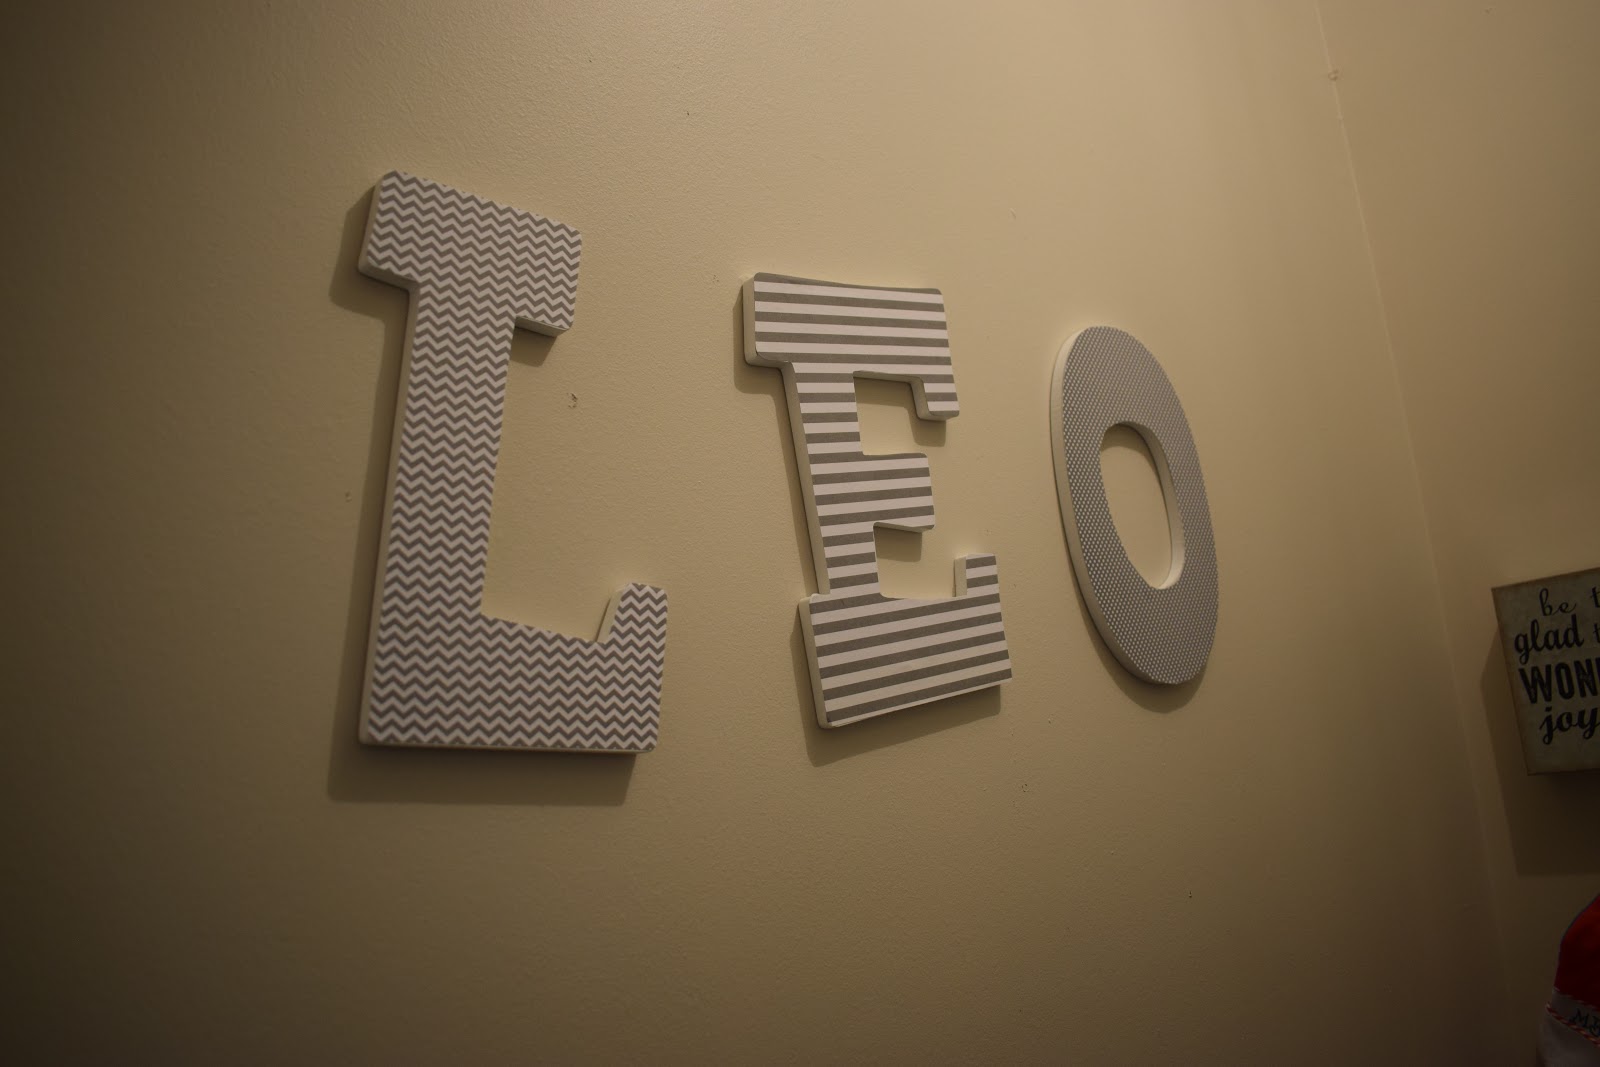
I made the name banner myself. I got the white, linen bases at Michaels. They came in a big package. To make the letters I actually used leftover linen fabric from my master bedroom makeover earlier this year. I ironed the linen fabric on to a heat bond double-sided adhesive paper (obsessed with this stuff). So now it has fabric on one side and paper on the back. I then printed "Lennon" off in a font I liked on Microsoft Word and cut them out. I flipped them backwards and traced them onto the paper that was attached to the fabric. After that I just cut them out! Take off the paper on the back then iron them where you want them. One I had all of my letters attached I folded over the top edges of the white linen banner bases and used my sewing machine to sew a tube to threat the jute thru. AND HIS NAME IS LENNON SO IT'S ALL SUPPOSED TO MAKE SENSE.


One thing I love to buy when working on smaller paint projects is little paint samples. Lowes and Home Depot have them for about $3-4 but they're pretty small. BUT you can get any color you want! For this project I actually got a Sherwin Williams coupon in the mail that was super handy. It was buy one sample tub, get one free! Their samples are $7 but they're so big! Like I feel like I've used alot but you can't even tell anything is missing. And you can pick out any color they have. So I got 2 big tubs of SW paint for $8 including tax. So much cheaper than buying a quart and much better quality paint than you can get at the craft store. Plus you can get the exact shade you want. I used this paint to redo little things around the room including the shutters.

I just changed out some things on the book shelves to make it less girly and to personalize it to Leo instead of Presley. I added a bird and new frames and some bears from my childhood. I got the cute giraffe wood art at Hobby Lobby (duh) for around $10.


LOL at my model

I bought the window curtains at Home Goods. 2 panels for $20. Of course they were too short so I had to get creative. I already had opened and hung them and so they could no longer be returned. In hind sight maybe I should've measured first...I like my curtains to be hung a good bit higher than the top of the window frame. It makes the room look taller and bigger and really does make a difference. So I removed the little hem at the bottom and re-sewed it. That added a few inches, but then the fabric was uneven for unknown reasons and looked weird at the bottom. It barely touched the floor which made it super noticeable. So I ended up undoing the rod pocked at the top to add more length and sewed pieces of ivory satin ribbon in 5 places per panel. I used a lighter to melt the edges of the ribbon so they wouldn't fray and tied them up in bows. Hey! It worked. And I ended up having a few inches of fabric to spare so it pooled nicely at the bottom. I love the pooled look so I was happy with how they turned out. And total they cost about $25.

I originally painted the little side table blue but didn't like it (too bright) so I repainted it gray with leftover dresser chalk paint. Much better. 

I recovered the little pillow on the glider with some cute white swiss-dot-esque fabric I found at Hobby Lobby.


I got the fuzzy ivory/gray chevron rug on sale at Target for $50! It's so soft. Me and Pres would pretend to go to sleep on it all the time before he got here. Well I really almost did fall asleep. Pres was pretending. She'd turn off the light, turn on the sound machine, give me a pillow and a blanket and say "Night night, Momma. Love you, Sweet Pea." She also loved to say "Got a new, soft rug for Babby Brodder!" Man I love her. I also got the new nickel hook for the wall at Target for $5. I loved having a hook for Presley when this was her room so I could easily lay out clothes for the next day, etc without them getting wrinkly. Of course it was pink so I moved it up to her big girl room and replaced it with this simple one. It's super handy.


I made just about all of Presley's crib bedding but with this pregnancy I was just so tired and weak I couldn't even find the energy to think about making a whole new set. I found this plain, pleated, white crib skirt on Target.com for less than $20 and went for it. I got some fun sheets to make it a little interesting.

I decided against a bumper. People have some serious opinions about crib bumpers these days. When I was a baby I think everyone had one but now they're considered sketchy and a hazard. I mean this did freak me out a little because if something were to happen to my baby due to there being a bumper I'd obvs never forgive myself. I went ahead and made one for Presley (yes I made it and I swore I'd never do that again) but once she started sleeping in her crib I was too afraid to actually leave it in there. So I didn't. It ended up just being for looks. Or really basically for a picture. So this time I decided not to waste money or time looking for/making a new one for his room. 

I got the frames above the crib at Ross for $9 each. My grandmother actually watercolored the animals and I'm obsessed. I really love how special they are because she made them. Kinda last minute I made the crib mobile with supplies I got on Etsy. I was inspired by one I found there but it was $50 and coming from Kiev, Ukraine. Ain't nobody got time fo dat! I loved this chick's stuff and it wasn't super pricey but I knew it'd take a while to get here and I'm impatient and stuff. So I bought the felt balls on Etsy (very inexpensively) and the rest of the supplies at Hobby Lobby (duh) and made my own! I like the pizazz it adds. It needed something interesting over here.


It took me FOREVER to settle on a new light fixture in here. The old one was pink so that obvs wouldn't work and I sold it on a FB resale site. I ended up finding this adorable drum fixture with acrylic balls on PotteryBarnKids.com. It was on sale for about $110 including shipping. I LOVE IT!


And here is a photo collage on this big, blank wall. And Presley again.


And here are a few pictures of his closet. SO MANY DIAPERS!


So that's basically it! Not much to it. I just wanted his room to be sweet and babyish but not cheesy. I hope I accomplished that. I don't sleep anymore so I don't even know what's happening and I haven't really noticed his room since he's been here. And I think there's poo in my hair. BUT I LOVE HIM SO MUCH!!!

Presley will be 3 in 2 short months (is this real life?) and we have an exciting birthday party planned so stay tuned!


Wednesday, November 1, 2017

A Frozen Halloween

Well here I am again...July and writing my costume blog post...I mean it's October or something. FINE IT'S JULY!! I really did have an excuse to make these early this year though. I'm due with our son on November 8 which is like a week after Halloween. And who knows when he'll actually get here! And I'll be huge and pregnant like really soon and I just wanted to get it done, ya know! 

Nesting is in full-swing and I'm hardcore knocking out dat pre-baby to-do list. Today I went to organize Presley's sippy cups in the cabinet (maybe a 5 minute task) which somehow turned into a complete kitchen overhaul (5+ hour task). I cleaned out every drawer and cabinet and now my dining room table is covered in crap I haven't used in 6+ years of marriage and I'm assuming I never will. So now I have to have a garage sale! I feel like that mouse in If You Give A Mouse A Cookie. Where one thing leads to another and another and it never ends. That's my life right now. One big stream of consciousness that's translated into actions and I'm basically just tearing my house apart all the time so I can put it back together "the right way." Idk...I don't know what I'm doing. My brain is a vast chasm right now AND NONE OF IT MAKES ANY SENSE.

Anyways! So Presley is OBSESSED with Elsa and all things Frozen (like every other little girl in America for the past 4 years). I'm all about Tangled and I tried hard to push it but no. Frozen. I don't know what it is about that movie that has literal magical powers over the children. But hey, it is good so I can't complain. I can recite it in my sleep.


One of the best parts of this is that Pres already has an Elsa dress! It's technically a Frozen Fever Elsa dress (the summer version) but it's still Elsa. It lights up and sings and she loves it. My husband was like "is that some weird knock off with Elsa's voice?" Lol. No it's legit. So that was easy, eh? It's missing the jewel that goes in the middle so I found some paper flowers at Hobby Lobby (duh) and glued them on. It cost a whole $2.50 and came with a big pack of them.

I got her beautiful wig at Target for $10 and it just made the whole costume. I bought her crown secondhand on a Facebook resale page.


I needed a costume that fit my robust figure so duh Olaf. And it was also super easy (maybe that's really my theme here). I'm used to going all-out for Halloween but this year has me all fatigued and things (preggy probs) so basically all I'm saying is no dog costume this year. Sorry, Elphie. I had so much of these supplies on hand so these were so cheap to make.

Everything was purchased at Hobby Lobby unless otherwise noted. Everything was also purchased on sale (at 50% off) or with my coupon (this may take a few trips if you're dedicated to saving the most money). Total (not including the things I already had) I spent $30 between all 3 costumes. Kristoff was the most expensive at about $18, Olaf was about $11 and I already had Presley's Elsa dress so that was free.

Olaf 


Supplies:
White shirt
Large black pom poms
White beanie hat (Ebay)
Orange, white, black felt (1 sheet each is plenty)
Black or brown pipe cleaners

Cloud Supplies:
Long dowel
Fluff
Cardboard or foamcore board (something sturdy)
Piece of ribbon
Thread
Snowflakes

Most of this is pretty self-explanatory! I just free-handed the felt face and glued it on the hat. Not hard at all.

UPDATE: So Pres and I had the most magical night ever at Disney on Ice the first weekend in October and I spent FIFTEEN FREAKING DOLLARS on a bag of cotton candy because it came with an Olaf hat that was just too good to be true. It's made of like foam and terrible quality but hey! It's just what I needed. So now Pres thoroughly enjoys playing dress up in this DIY Olaf hat so it was still worth it.


The cloud wasn't hard at all but was a little more complicated just because I didn't have directions and had to figure it out. I think it really made the outfit though so it was worth it.

I painted the dowel white then poked it through a piece of sturdy, rectangular cardboard. I hot glued it in place on the top and bottom.  It was a little saggy so I cut up some foamcore board and glued it on. Still a little floppy. So I got a piece of ribbon and glued it taught on one side of the cardboard to the top of the dowel on the other side. That way it's being held up by something. This will make more sense in a picture.


After this I glued the snowflakes to string and the string to the bottom of the cardboard (underside of cloud). I already had these because I was in charge of decorating the Father Daughter Dance at my church in February and it was Winter Wonderland themed. I went all out Frozen. I gathered supplies right after Christmas when everything was 90% off . So I had a ton of these snowflakes from that. Lucky me! 

After I did that I just started gluing the fluff to the cardboard. This made me want to say bad words and the glue kept burning me but it happened. You just have to work with it to make sure everything is covered. I was sure to wrap it around the edges so you couldn't really tell there was something in it. I poked the snowflakes out as I was gluing the fluff around them. That's it!

Matt was Kristoff. This was probably the most complicated costume but it wasn't bad. 

Kristoff


Supplies:
Gray tshirt
Red grosgrain ribbon
Purple grosgrain ribbon
Red decorative ribbon for sash
Appx 1/2 yard of fur from the fabric department
Black beanie (Ebay)
Big black pom pom ball

I first cut the "v" at the neckline. Then I cut the fur into strips and sewed them around the bottom, sleeves and inside the neck. I did it with a zigzag stitch so it'd have some give to it. You could probably just use hot glue as an alternative. I just glued the ribbon around the neck for the red/purple design, being sure to use a lighter to melt the edges of the ribbon to prevent fraying. I also glued on the sash at the waist. So that's it! A little time consuming but wasn't hard at all.


So now we're ONE DAY AWAY from having our boy and I'm finishing this blog post up before I finish up packing our hospotal bags (omg). Last night was Halloween and we had a great time. Of course I'm MASSIVE so not my most comfortable holiday but I ate alot (like alot) and had a great time anyways. It was so fun seeing Presley really getting into it this year. She left her wig on all night and kept reassuring us that "I'm Presley and I'm Elsa." She wanted to make sure that even though she was an exact replica of the real Elsa she was still Presley. Now every time I show her a pic from that night and point at her and ask her who that is she will only say "That's Elsa."


I can't believe that next year I'll have a one year old little boy to dress up! He's going to hate me. JK he's going to love me he has no choice. Well, until then!! Nursery post to come soon!