Thursday, January 30, 2014

Chandelier Update, Kitchen Chairs, Coffee Station

My kitchen is far from finished (still need to make curtains and replace the backsplash to name a some things) but I've done a few things that I'm excited to share. It's so great having so much space in my kitchen. I can't wait to get into cake makin again. Here are a few things I've done so far. 

I've written multiple posts in the past on my love for garage sales. I just love finding bargains! I also love fixing things up. A few years ago I was literally obsessed. Every Saturday morning for a month I woke up super early and made my way around Memphis looking for things to spruce up and possibly sell. Well...I ended up with so much stuff and I didn't have time to finish it all. I got engaged and it's not surprising that wedding planning became far more important than painting an old table I found for $10. So most of it went in my dad's massive garage and I forgot about it. Well, a few weeks ago I went to the second floor of the garage looking through his door collection and I started uncovering all of my old treasures!  

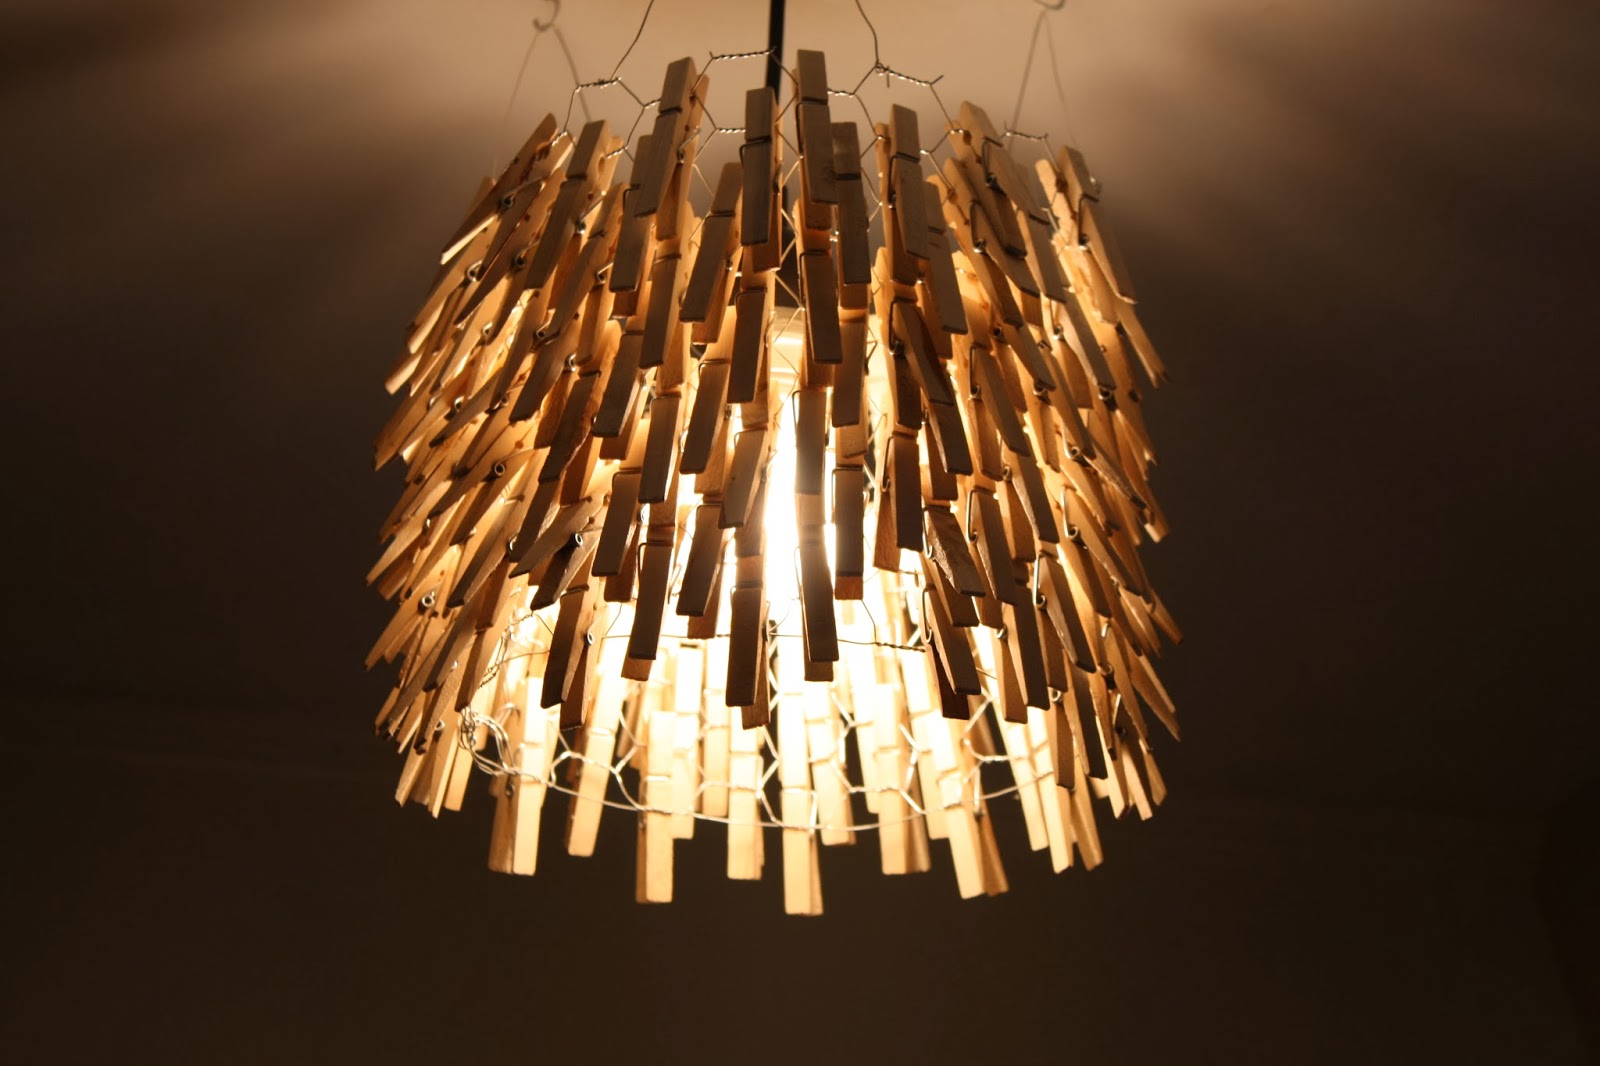
I found this beauty. I got it 4 years ago at a random garage sale we stopped at in Heber Springs, AR. It was very expensive...it was one whole dollar. We needed a fixture for our kitchen and it was perfect!


My dad welded that loose piece back on I taped up the bulb thingies and I started paintin.

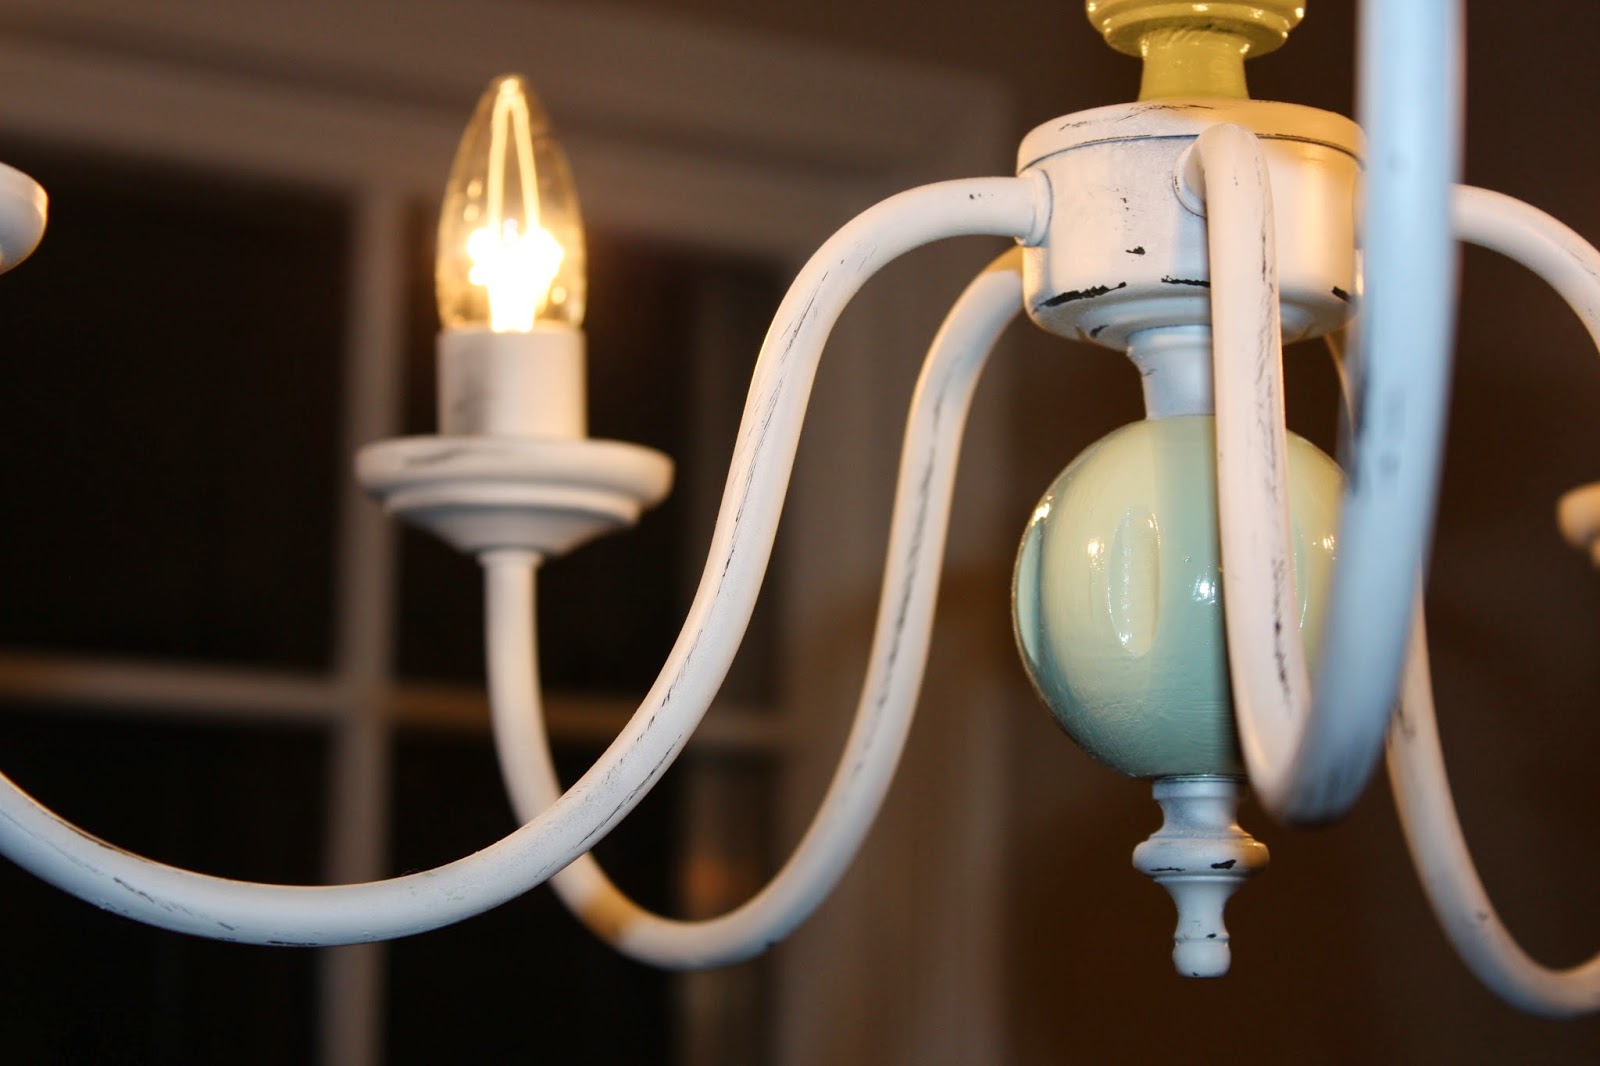
I first spray painted the whole thing white then went back and painted the wooden parts Cool Spring by Farrell Calhoun. I have a coffee bar in my kitchen that I already love so much. I painted that furniture as well as my kitchen chairs that color. I really love it. 


After it was dry I used sandpaper to distress the white a little bit. I really love how it turned out and it cost a total of about $4! Cheapest light ever! 


Here are my kitchen chairs. I got the fabric from Hobby Lobby and painted them the Cool Spring color. My parents passed this table and and these chairs down to me when I moved into my previous house. We had them in our kitchen when I was a kid. You can see the layers of fabric on them. 


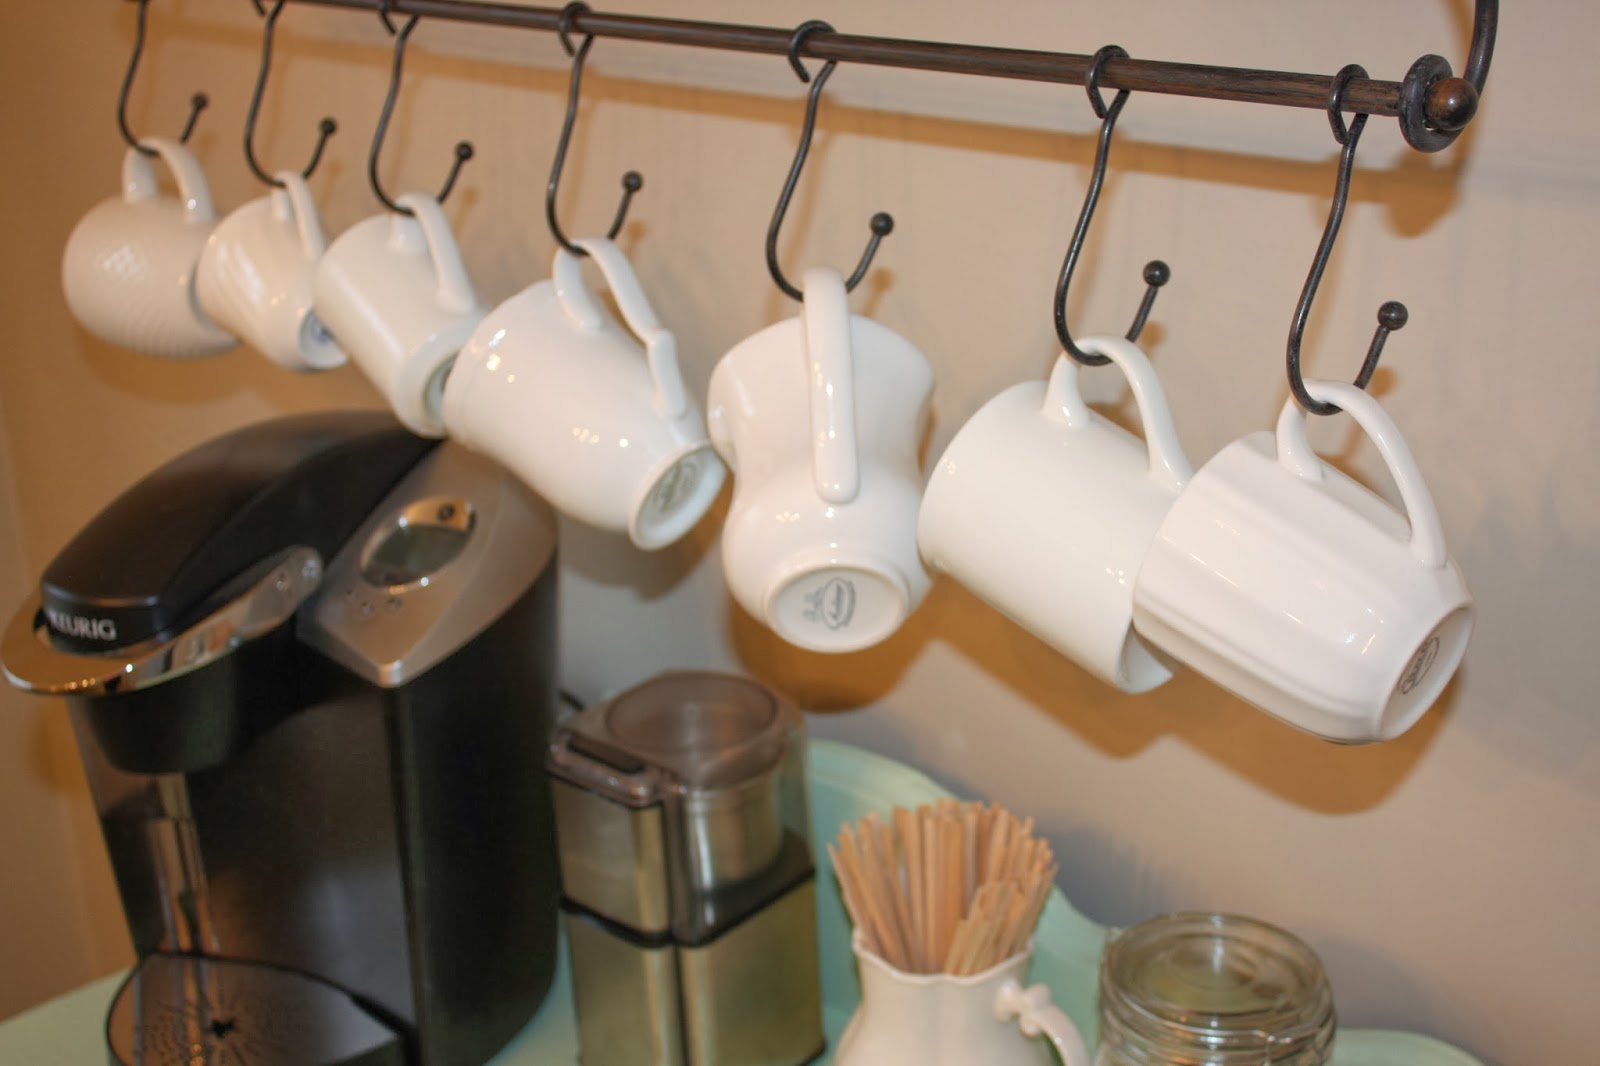
Last but not least, the coffee bar! I haven't been a coffee drinker at all until now. I also have a new job and it's so nice to grab a warm cup of coffee on the way out the door when it's so cold outside and I don't have much time. I saw one on Pinterest and it was just one of those things. I got the piece of furniture from my grandma. She had it at a garage sale once. It was old and beat up but I really loved it. She gave it to me and I painted it green. I loved it like that but it clashed with my new kitchen and my curtains that I have yet to make...so I painted it Cool Spring as well. All of my cookbooks are inside the doors and more coffee accessories are in the drawer. 
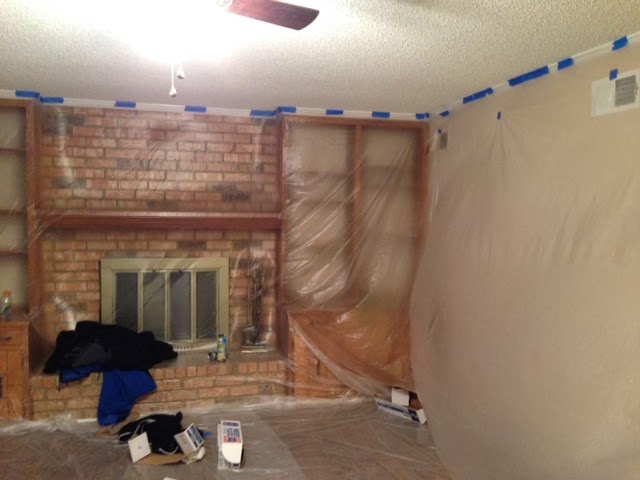
Before:

After:

I got these at Goodwill for 52 cents a piece. Can't beat that! Don't worry...I washed them good.


Who knew coffee stirrers are so hard to find in stores! I ended up getting these on Amazon for $3. I got the holder at Home Goods for $6.


I got this little jar with a chalkboard label on it at Garden Ridge for like $4. I'm seriously obsessed with that place. I got the black scooper at Dollar Tree and it came with 2!


The shelf I got at Hobby Lobby. It's perfect to hold all of my little K cups.


I had the white trash can already and I spray painted the inside of it orange to match my fabric. I really like orange right now. Not a lot of it but little touches here and there. I never thought orange and I would have this kind of relationship.


I'm hoping to make the curtains this weekend. I love seeing rooms slowly but surely coming together piece by piece. I can't wait to share more projects with you!

UPDATE: Link to the full kitchen update thus far :)
http://katiehedge.blogspot.com/2014/07/our-kitchen.html

Monday, January 27, 2014

Laundry Room & Half Bath

We've been working so hard on the casa these past few weeks. On Sunday I watched the Bachelor wedding and it was the first time in 2 months I've sat down to just relax. We finally got all of the walls/trim painted which was a huge feat. I've also been working on a lot of little updates around the place. We really only have big things left like buying rugs, new couches, a new bed...those kinds of things that take time and saving. But for now I want to show you my laundry room and half bath since they're totally finished and a few sneak peeks of other things that I've been working on. 

Before:

After:

Before:

After:

First I want to point out the beautiful smooth ceilings. They're one of the most beautiful sights I have ever seen. Especially after what we've gone through with getting them to look like that. Our closing date kept getting pushed back which delayed our workers on starting this massive project so they weren't done on move-in day. Definitely not their fault but it was a pretty interesting situation. Definitely a story to tell the grandkids. 

Here are a few pics of that process:


Soooo the day we moved into our house this is what it looked like:


We slept here in the living room/office amidst all of the dust on an air mattress since our bedroom was still a huge mess and they were still working on it:


So we had no where to put all of our stuff right! All of the furniture went in the garage for a week and our boxes went in the den until other rooms were accessible. This was before they sanded and painted the ceilings so there was still work to do all over the house. 


Andddd a few days after we moved in:


After going through this 2-week long process and trying to live in it I'm even more thankful for the way they look now. Having them smooth is such a relief. We struggled for a few weeks with whether or not we wanted to go through the process and whether or not it was worth the money we spent on having it done. If you had asked me during the process if it was worth it I probably would've said no. But now that the 523902 layers of dust have subsided I'd say it was totally worth every cent. I would've regretted it forever if I didn't do it. It totally changed and updated the whole look of the house. We love our new ceilings!

Moving on. I struggled with the color of the walls for a while. I wanted to paint the dining, kitchen, 1/2 bath and laundry the same color. I originally picked out 1 color for the whole house minus our bedroom. It was Benjamin Moore Berkshire Beige. I painted it in Matt's office first and loved it in there but there's no way I was going to paint it anywhere else in my house. It was darker than I thought it'd be and in some angles it was kind of green. Definitely not the look I was going for for the whole place. I eventually decided on Sanddune by Benjamin Moore in just those 4 rooms. It's a great neutral color. It has a gray side to make it more modern and a brown side to play down the gray so it won't be too trendy and something I'll get sick of in a year. If that makes any sense at all. The paint man at Farrell Calhoun found the color for me after trying to convince me to paint my kitchen burnt orange. It's a nice cozy color. The whole house had been freshly painted when we bought it but the neutral color they chose had a peachy undertone that definitely was not for me (although you can't really tell in the pics). Plus they painted latex on top of enamel paint on the trim everywhere so guess what! It all had to be repainted since it would peel off if you looked at it funny. 

I really don't like the oriental-looking cabinet doors all over the downstairs with the design in them. So 70's. We plan on changing them out eventually. They're in the den, bar, kitchen and laundry room. That project, however, can definitely wait a while. They're great for now. 

The laundry was pretty easy. I switched out the fixture (well...had my dad switch it out) for a simple hanging bulb. I've had my eye on a clothespin fixture I saw on Pinterest/Young House Love for a while now and I seized my opportunity. It was a cheap project too! About $20 total. 

Here's the link:

I used a different type of chicken wire. There's was more linear and mine is more like, well...chicken wire. I still love it though. It definitely makes the room interesting.

Supplies:
Light fixture (Got mine for $7 on Amazon)
Chicken wire (Home Depot or Lowes for about $7)
I used 3.5 bags of clothespins (Walmart or any craft store for $1 a bag)
Extra wire for hanging and binding (appx $2)


More pics!


The half bath was a simple upgrade as well. I scored the oval mirror at Hobby Lobby for $35 and I got the artwork at TJ Maxx about 5 years ago. I had to buy a little towel holder and I installed it myself. My dad had the light fixture in his garage that he so generously gave us. It's so nice having that 1/2 bath off of the kitchen. We don't know what to do with all of this space!


Here are a few sneak peeks of other projects we've been working on:


Can't wait to show you the rest!

UPDATE 2016:
http://katiehedge.blogspot.com/2016/01/house-update-2016.html

Tuesday, January 14, 2014

Fireplace Makeover

Over Christmas break Matt and I bought a house in Germantown! Merry Christmas to us. The best part? ONLY LIKE 3 MINUTES FROM HOBBY LOBBY!!! A real dream come true. HL was a good 30 minutes from our old house so this is a real treat for me. We love it and are so thankful for this blessing. Let the projects commence!


The house is in great shape and most of it was updated before it was put on the market...but it's me...I'm going to change it no matter what. It's just what I do. It doesn't have to make sense. 

I have a very clear vision for every room. I work on my to-do list everyday and do a little dance every time I get to check something off. Will the house ever be truly "finished"? Obviously the answer is going to be no. I lived in my last house for 4.5 years and I found myself walking around looking for things to change a week before I started putting things in boxes. It's a mental condition. 

I love making things my own and finding the perfect place to put them. I love picking out every detail in a room all the way down to the trim color and outlet covers. I love planning how I'm going to make it happen and making lists. I love making the dream of the final product a reality. It's so fun to me. I'm basically in heaven with a project this big. It's OUR house. We can do whatever we want to with it. Such a liberating and wonderful feeling. I could go on and on about how excited I am. I'm so thankful that God has given me this opportunity to do what I love along with my husband. It sounds cheesy but this really is a dream come true for me.

Another thing I love to do is be frugal. I love couponing and searching the town up and down to find the best deals. This project that I'm about to tell you about was one of my cheaper ones and it made a HUGE difference in the room.

When I walked in our living room during an open house when we were looking for our home my eyes were immediately drawn to the mantle and bookcases. It was a perfect vision. What I had always pictured my living room looking like. Not how it was in that moment but the potential that was there! It just needed some love.

I'll talk about the rest of the living room in a later blog post but for now I'm going to tell you about the fireplace.  First there were the fireplace doors. They weren't the prettiest sight. I researched replacing them in the beginning. That started at about $250. Maybe remove the doors and get a screen? That would be about $100 and I wasn't sure it'd look right. THEN I saw something that got my attention. My solution. Paint it myself! I'm so in love with the result and it cost me about $7 total. So worth it! 

Another thing I wanted to do was paint the brick. I spent days researching what exactly I wanted. I looked up colors and everything. While doing so I saw something even better. What was this? Whitewashing. I then spent hours looking at blogs with tutorials and pictures and fell in love. It looked so easy too! Another great thing about it is that it doesn't take much time and if I didn't like it I could just paint over it. No big deal. Whelp...it happened and I'm obsessed with the result. The paint was used by the previous owner and was in the garage so guess what! This project was FREE!

I have 2 links. The first link was what I used to guide me as I painted the doors. They also whitewashed their fireplace. What a coincidence!! The second link is actually the tutorial I used for the whitewashing.


Before:

Current:

After (Update):

Sorry my pictures aren't that great at this point. The shelves aren't dry/put together and our stuff is still basically everywhere. This is one of our first of many many projects. 

I mixed some white latex paint with water. About 50/50. I didn't measure or anything. I like to live life on the edge. Make sure it's pretty watery though. 


I was kind of nervous at this point. Once you start there's no going back!


I was alone so I didn't get any pics while it was happening. What you do is you use a brush to put the really drippy paint on the brick and in the grout. Then you wipe it down with a cloth. Some like it more white but I wanted a more rustic feel so I wiped a lot. Just do that till you're done! It's really that easy. The whole thing took about an hour.


So beautiful! But those doors tho!

So then I had to get rid of the doors. I couldn't stand it another day. I used Rustoleum's High Heat flat black spray paint that I got at Lowes. 


First tape down your area really well. I got the roll of paper, painters tape and plastic all at Walmart super cheap in the paint section. Use the plastic to make a little spray paint quarantine so it won't get on anything else. Be sure to get a mask! I don't want you to die. It's not worth it!

My dad was at my house working on a beautiful fence he gave Matt and me for Christmas. Now my dog can't escape!! We love it. He has a little bit of everything in his van. I asked him if he happened to have a mask and he dug this out. I mean you don't have to get one this intense but I looked awesome.


So...I get under the plastic with my spray paint. I'm so nervous that something was going to go wrong and everything in my living room was going to end up black. That didn't happen BUT it was probably the most stressful 2 minutes of my life. 

So my day had been pretty chill up to that point. Went to work, Walmart to get supplies, came home and ate a Little Debbie snack cake...so right when I get under the plastic and start spraying the phone rings, the doorbell rings, the plastic starts touching the fireplace and making lines in the paint, ALL OF THE PAPER just detaches all at once and starts to fall down and the back strap of my mask just popped open and I was no longer able to breathe. In that moment I was like "this is the worst idea I've ever tried there's no way this is working I bet my whole house is black what have I done I'm hungry I want to be in Disney World." I stepped away. It was the most beautiful sight I had ever seen. I looked towards heaven and I said "thank you, Lord." It was truly a miracle that it turned out so perfect. I seriously...I don't...I don't even know how it happened. 


I windexed the windows and even painted the lovely brass fire accessories that the house came with with the same paint (this time outside). I can't stop staring at its beauty. It made such a big difference. Tomorrow when the shelves are dry I get to put it all together. I need to cut in with the blue paint around the shelves and the living room will finally be OUR living room. I'm so excited about the fireplace project. Anyone can do it. I'm dying to decorate my bookshelves too. 

Let me know if you decide to try either of these things. I'd love to hear about it! Hope you enjoyed.

PS. We painted the living room Sherwin William's Sea Salt and we love it. We're painting our bedroom with it as well. Definitely recommend. Blog post on the whole room to come.

Blog post on the finished product:
http://katiehedge.blogspot.com/2014/04/living-room.html

Hope this helps!