Wednesday, May 30, 2012

Mini House Makeover: Painted Shutters

One of the first things I wanted to do this summer was paint my shutters. I've been dying to do this for the past 2 years and I finally just woke up one morning and said "today is the day". I went to The Home Depot, got my color, and did my thing. I picked a nice mossy green because I wanted it to stand out. I was so sick of the original black ones. They were so...boring. I think things to be interesting. 

Here's a before picture:


Painting them was not as easy as I imagined. I got my husband to remove them for me and I painted them on my back patio. There were so many crevices and things! It took FOREVER!!! I didn't use the paint and primer in one like I should have. I decided to save some money and go with a cheaper paint. It definitely didn't cover as well. I did 2 coats and went back and touched up the 3rd time. 


Once they dried and Matt hung them back up I was amazed at the difference!! It looks like a new house! I'm so in love with them (but not in a creepy way).


I also spent a day not long after I painted the shutters to mulch the beds and plant a few flowers. Here are some pics!


I also bought an "H" at Michaels and hot glued it into the middle of my metal flower that I bought at the Germantown Festival last year!


Here are some pics of our backyard!


My husband and I are celebrating our 1 year anniversary next week in San Francisco and I could NOT be more excited about it. We will be there for a whole week. When I return I will work more on my mom's house and give you a blog update on it. Until next time!

Tile Frames, Chalkboard Paint, Paw Prints, and Shadowboxes

This is my 3rd post in the last 2 days!! Of course, like I've said before, summer is a time for endless crafting...my favorite thing to do! Here are a few of them that I've done over the past month!

First, I made a picture frame out of a tile!! This project cost me 13 cents!


I got the tile at The Home Depot and all you need is a picture, Mod Podge, some scrapbook paper, and sticker letters (although optional). I just measured out a perfect square and cut the picture and the paper and Mod Podged it in the middle of the tile, leaving a little space above to put our anniversary in sticker letters. I Mod Podged over the whole thing, let it dry, and voila!! So simple and I love how it turned out. Put it on an easel (got this one at Michaels for $3) and you have a new picture frame!

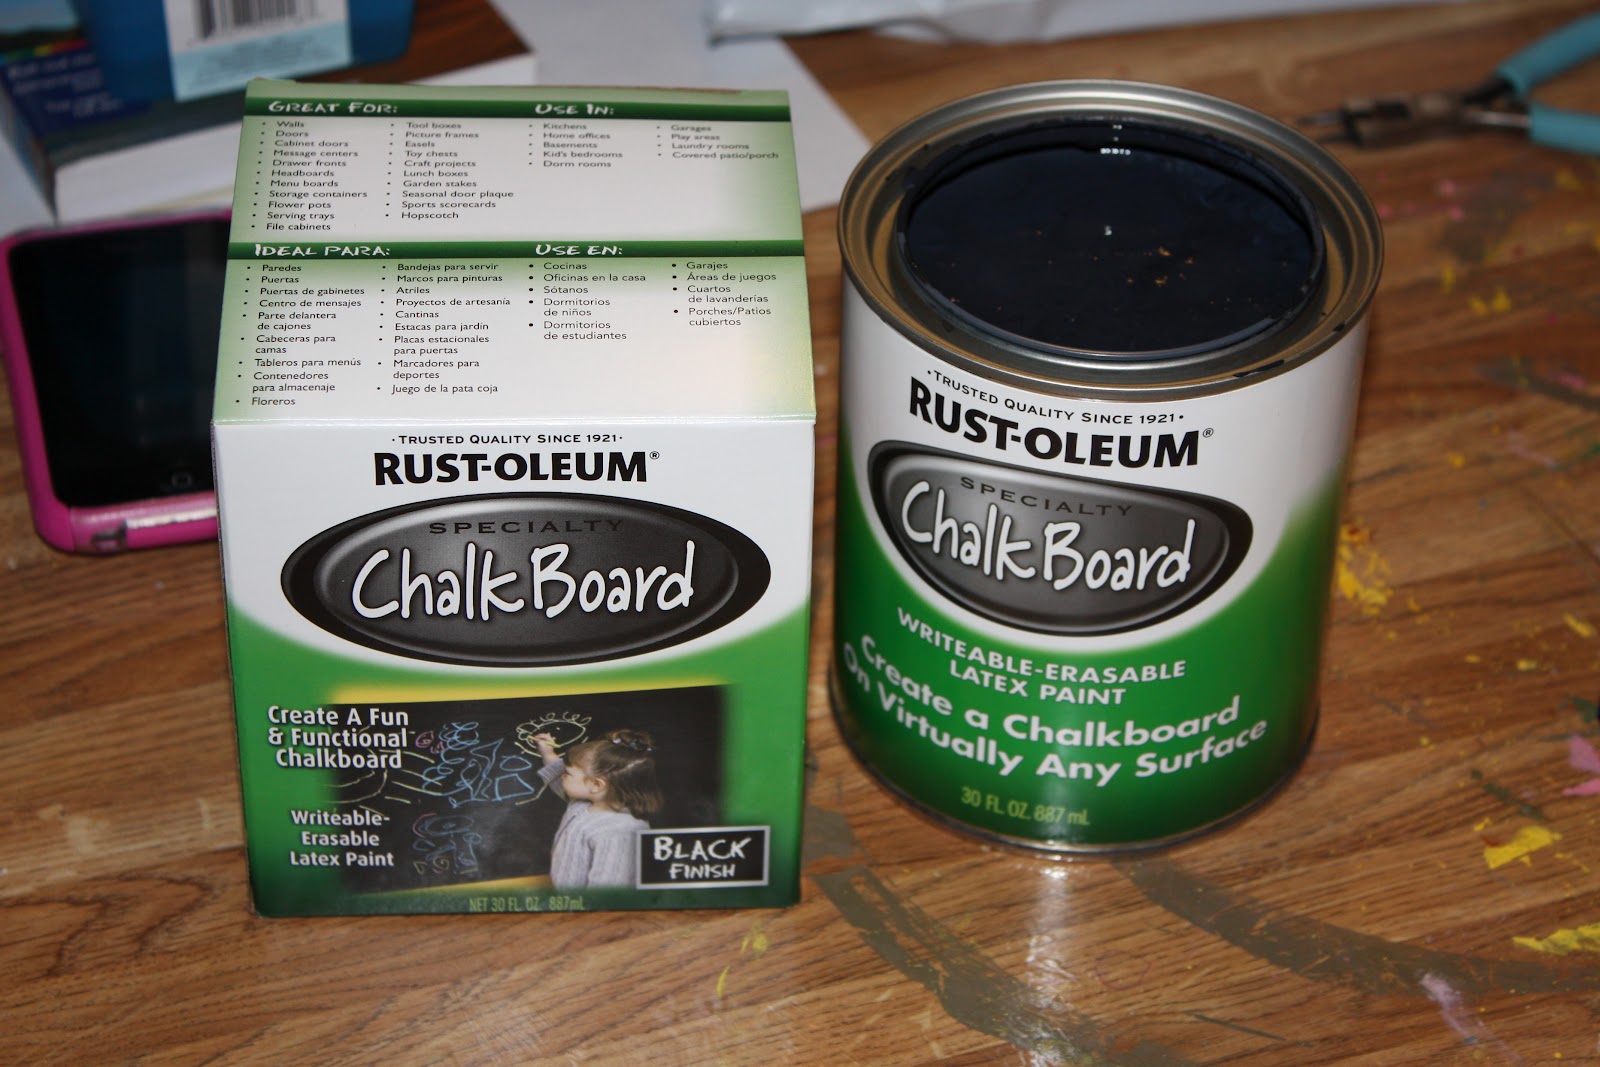
Next, I made a chalkboard tray. 


I got the chalkboard paint at Lowes in the paint section for $10 and I already had a little sample brown paint color that I also got at Lowes. I love how they do it now. You can pick out any color you like and have a little container of it made for $2.50-$3. Perfect for my crafting!! I no longer have to spend $15 on a quart! I also love the Behr paint and primer in one. I'm it's biggest fan. I painted over the wooden paneling in Matt's man room with it and it covered so easily with like 2 coats. So glad it comes in sample sizes too!


I got the silver tray at a thrift store for $1.50!


All I did was paint the tray brown then paint a little green (acrylic paint) over it to give it a more interesting finish. I then painted the chalkboard paint in the center of the tray and you're done! I hung it on a wall in my mom's kitchen. It erases and everything! It even holds magnets. The possibilities are endless! 


Another craft I made for my momma's house included all of our pups. I thought this craft was cute & it went in their back hallway.


I got this frame at Michaels for $5 (it was originally $10 but it was 50% off). It was black and gold so I painted it with some blue paint I had laying around.  I got some green scrapbook paper, painted the dog's paws brown and the rest is pretty self explanatory. I saw this idea on Pinterest and thought it was perfect for dog lovers like us. After the paw prints dried I got a Sharpie pen and wrote their names by their prints. I also included "2012" in the bottom left corner. 

I also decided to make a wedding shadow box!! It's not the prettiest thing in the world because I didn't dry my wedding bouquet properly, but I still think it's cool and sentimental. 

I got the shadow box at Michaels. It was originally $50 but it was on sale and I had a coupon and it ended up being $20. I also got the pearl-ended pins at Michaels to secure things in place with.


I included:
 Part of my bouquet wrapped in lace from my mom's wedding dress
Another strip of my mom's lace
Matt's boutonniere
A napkin from our wedding with our names and wedding date
My headband that I wore
My garter (I got my garter on Etsy and I loved it)

I just thought it was a fun little keepsake!

Lastly, I just updated a little box I found at my parent's house. It sits on the couch-side table in their keeping room and holds important things. It used to have a sticker on it that peeled off and left behind some residue... because I'm OCD, it's been annoying me for a while....so I decided to take matters into my own hands. The next time I returned to their house I brought my scrapbook paper and Mod Podge. Such an easy fix. I cleaned it with soap and water, dried it off, covered the residue with the paper, then Mod Podged it on! Just like that it's a new box!


I'm sure there will be many more crafts to come!!!

Tuesday, May 29, 2012

Dorm Room Survival Kit

Here's a little post on what we gave my sister-in-law for her high school graduation!

I think this would be a fun gift for any girl going away to college. I gave her a dorm room survival kit. 


I got all of the stuff at Target! The whole thing cost about $30 and it included:

Basket (storage section of the store)
Mini notebook to write in
Tide-to-go
Hand sanitizer
4 packets of hot cocoa mix
2 fingernail polishes
Fingernail polish remover
Cotton pads
Nail file
Ibuprofen (for those reoccurring unfortunate situations)
Mini stapler
Post-it note cube
Tiny thing of Vaseline lip balm
Index cards
Mini sewing kit made out of a Mason jar

I also gave her a Goulds massage gift card because it was a combined birthday and graduation gift. 

I made the card that says "Anna" out of scrapbook paper and stickers!

The sewing kit was so easy to make. I had a mason jar sitting around (because I love them) and I also had some fluff and cute fabric. It's pretty self-explanatory. Cover the fluff with fabric and put it in the lid of the jar and hot glue it into into place. I got the mini sewing kit and things to go in it at Hobby Lobby in the fabric department. The kit cost about $3.


And here's a picture of the card & cute little lip balm...so tiny.


I wrapped the whole thing in cellophane that I got at Hobby Lobby with some cute ribbon. 


Monday, May 28, 2012

Cream Cheese Wrap, Sweet Potato Casserole, Green Beans & Pepperoni Bread

Things have been a little crazy around here lately so I haven't had time to update the blog. I've tried a few recipes recently that I REALLY love. My husband just had his 23rd birthday and of course I made him a random but delicious meal. Before that, however, I'll give you a little quick lunch recipe that is so yummy.

Turkey Cucumber Cream Cheese Wrap!!!

I'm not gunna lie...I HATE cucumbers but love them in this wrap...weird I know. Anything with cream cheese really makes it for me, though. 

Here's the recipe:


Yum!!!!


Here is the menu for Matt's birthday dinner:

Chicken tenders wrapped in bacon (who doesn't love bacon?)
Ruth's Chris sweet potato casserole (mmmmmm)
Garlic parmesean green beans 
And lastly, pepperoni bread (I said it was random but delicious)

-Chicken Tenders Wrapped in Bacon-


These are seriously the easiest, quickest, and yummiest things to make for dinner. We even ate leftovers a day later and they were still delicious. 


-Ruth's Chris Sweet Potato Casserole-


This is seriously the yummiest stuff ever and tastes just like the real thing!! Just a fair warning...there is absolutely nothing healthy about it. So much butter and sugar...makes sense why it's so delicious.


-Garlic Parmesean Green Beans-


These are so yummy. I also made a make-shift steamer using a large pot and a colander that fit inside. It worked perfectly.


-Pepperoni Bread-

http://www.singforyoursupperblog.com/2011/10/06/cheesy-pepperoni-bread/

This stuff is so yummy!!

Note: I got the "rustic" bread dough not thinking it would be different. Next time I will get the regular Pillsbury bread dough because this one would NOT roll out!! No matter how hard I would knead, stretch, and roll it out, it would so back to its original little shape. It was still delicious though.


Happy birthday, Matty! I love you!