Monday, January 9, 2017

Not Another Home Makeover

This month marks 3 years of living in our house in Germantown. We love it more today than we ever have. Raising our girl here has been such a blessing. The location and the neighbors are better than we ever could have imagined. These people love our daughter and we're so spoiled by them. Plus so many little lady friends around for her to grow up with! We had our last house (that we also loved for different reasons) on the market for a while. During that time we saw new houses we liked come and go. I was discouraged. We wanted to move into a more family-friendly area with more space and get settled there (for me that meant a little construction and a whole lot of painting which I knew would take a while) then start a family right away. So every month that went by with no one interested in our house was another month of pushing back something that we were longing for greatly. This house became available right when it was time for us to buy at a great price and we continue to be so thankful that God was saving it specifically for us. His timing is perfect even if we might not recognize it in the present. Even when we're frustrated that things aren't happening at the rate we'd like them to happen. Then right on time He gave us Presley who is the greatest little person in the world (not biased) and we are just so blessed. I'm so horribly impatient and I hate waiting but knowing that everything happens exactly when it's supposed to is the most comforting thing in the world. He is sovereign and He is so so good. He has blessed our family immensely and we are so thankful. 


So speaking of longing, at the beginning of every year I feel this longing/deep desire to redecorate my house. Not everything. Just some things. Is this a legitimate new years resolution (every year) or is this a mental disorder? Isn't the first step admitting you have a problem? IS THERE SOMETHING WRONG WITH ME?? 

Now that we've determined that I most likely do have a legitimate problem we can discuss what brought this on. First off, our bedroom.

I think this is our 3rd bedroom makeover. If you spread it out over the 3 years we've been here it doesn't sound as bad, right? One makeover a year? Ok fine. It's alot of makeovers.

Here's the evolution:


See?? It didn't change too much between the first and second makeover. BUT this last one has been pretty drastic. I love it though! I love it most! I'm obsessed. This is what I've been holding out for! I was finally inspired and went in a whole different direction from my previous ones. Before I was feeling this deep connection with orange for some reason. I got to a point, however, where I felt like it was necessary to break up with it once and for all. It was weighing me down. It was holding me back. Orange? Don't get me wrong. It's a nice color. But it just wasn't me. Maybe it was at some point but I've moved on. I've changed. I'm a new woman in 2017. My orangey bedroom and I are never getting back together. Like ever. 

I haven't been truly satisfied with this room for a while but what really sealed its fate was one morning a few weeks ago when Matt woke up with yet another scratch on his hand. I loved how rustic our headboard was. My dad did a beautiful job hand-crafting exactly what I described to him in literally 20 minutes one day. I wanted it this way but I didn't think through it. The wood was rough and if you weren't careful you could scrape yourself if you unconsciously flail your hands in your sleep. Which apparently we both have issues with (???). And how can you be careful if you're unconscious? That's like asking me to refrain from singing Hakuna Matata every time I see a meercat at the zoo. It's a natural impulse that one simply cannot simply control. There were not enough bandaids to heal our broken hearts (or hands). The time had come for me to deal with the situation literally at [our] hand[s]. With me, however, one doesn't simply change something. The headboard situation led to an entire room breakdown and before I knew it I had gone totally Oppa Katie Style and wiped it out to start over. Then my bedroom and I exchanged some words. I sang to it:

"All I know is you held the door
You'll be mine and I'll be yours
All I know since yesterday is everything has changed."

We were getting back together. 

I don't feel like one (or maybe just me) can simply move into a house and immediately know what needs to happen there. Like be immediately inspired and stick with it. It takes time. Patience. Moving things around. Finding your unique style. Being inspired by situations and people around you. By other people's unique styles. By places you visit and sites you see. Sounds you hear. Textures you feel. Sometimes the inspiration comes from many different places and maybe even happen over a few years. Eventually you'll find that style that's uniquely yours. Everyone has their own flair. Embrace your flair. Be your flair. I FOUND MY FLAIR, GUYS! It took 3 years but I finally love it. And all sans the orange.


It's neutral. It's cozy. I never want to leave. 

Here's what I changed:
Headboard makeover
Pillows
Bed blanket
Bedskirt
Lamps
Most of collage wall
Curtains

Doesn't seem like alot but it made a huge difference. And one of the best parts? Thank you, Jesus, for Facebook resale sites because I made back so much money making these little changes super affordable. For example, I sold my old curtains online for $20 and got these new ones at Tuesday Morning for $30 (including both panels). The way I see it that makeover only cost me $10 out of pocket! I sold everything I changed out and used that money to buy new things!

Lets start with the headboard. The way it was made there were 2 "columns" on the sides that were connected by the big middle piece. The columns weren't flush with the middle piece. It sunk in a few inches. If I were to cover it in fabric it would need to be flush all the way across. This would require basically taking the whole thing apart and putting it back together a little differently. I texted my little brother (who is a brilliant wood worker) and we discussed some options. I was like "Thanks, Bro. I'll try this during naptime tomorrow." He was like "LOL okay Katie." Like I had no idea what I was doing and it was never actually going to happen. He was right about one thing. I literally had NO idea what I was doing. But by the grace of our good Lord it happened. And all during naptime. 

Here's what I'm talking about:

I took my headboard in the attic and started beating it with a hammer. Nothing was happening. I started walking all over it and the boards started coming apart one by one. My plan was working. And by plan I mean I had no plan I was just originally beating it with a hammer and I accidentally stepped on it and a board popped out (which is what I was trying to accomplish). The headboard was disassembled. I took a moment to mourn its loss but then rejoice because it was being made new. Its beauty was being transformed into a more functional, less tear- and blood-inducing beauty which was far more exciting (insert spiritually-renewing metaphor here). THANK YOU JESUS THAT YOU HAVE MADE US NEW! 

I obtained my drill and continued on not having any idea what I was doing. I somehow managed to screw the wood back together in the semi-correct place. It's not perfect but, in the words of my great grandmother Reba, "WHO CARES!" All of the wood in the front is now flush so all one depth. I covered it in 3 layers of padding (making up for lost time here, people) and then fabric with my staple gun. I got the padding at Joann in a 10 yard roll for about $20. The fabric was from Premier Fabrics in Germantown (obsessed) for only $8 a yard (it was on sale for $2 off/yard). I got 3 yards. This headboard from start to finish cost less than $50. My dad originally made it out of scrap wood he already had. All I had to actually pay for was the padding and fabric (and screws and staples that I already had if you want to count that). 

 Here are some super-creepy attic/Katie's headboard workshop pics:


I tried to *nicely* and then forcefully (didn't work) ask my dog to please get out of my picture but she insisted on Vogue-ing for all of them. But then I was like, fancy decorating magazines often have some majestic creature lounging in their scenes so I decided that Elphie was to be my fancy, majestic creature. She's not a $10,000 pure-bred poodle who speaks fluent French like I'm sure the Southern Living ones do but she did poop in my house this week. My daughter (who was lucky enough to find it first) proudly presented me with said poo saying "poop poop." She calls everything "poop." I took it in my hand without looking (it's a daily occurrence that she hands me something saying "poop"). I was overcome by a scent that only Satan himself could've produced. I reluctantly glace at my hand. Staring back at me was what nightmares are made of. The worst possible scenario had become a reality. A steamy dog turd. She was right. It was actually poop. I was proud and horrified all at once. But that's motherhood, amiright? And everyone poops, right? My Shih Tzu can still be considered fancy and majestic, right? SHE'S MAJESTIC OKAY! Thanks for making me fancy, Elph. Or as Presley likes to call her, "ALF." Which is clearly just the fanciest name in the world. I feel like all of those fancy poodles are named something like Lady Tremaine. Or Alyssa. Or Lord Farquad. Or Adele Dazeem. Or maybe just Benedict Cumberbatch. All spoken ONLY in an English accent. I digress. 

And here is my headboard in all of its poofy, non-rigid beauty. 


I wasn't into the idea of spending $25-50 a pillow so I made my own! I got the euro pillow forms as well as the forms for the 2 square ones in the center (that were actually for chair cushions not pillows) from IKEA for super cheap. The euros were $10 and the cushion ones were $4. WHAT A DEAL! I got a new linen bedskirt from Amazon for Christmas and wanted to incorporate that into my pillows. I bought the linen fabric at Joann for $16 total and made them myself. Super easy if you can sew a straight line. I got the fabric for the middle square pillows at Premier Fabrics again. One yard was on sale for $8 and that's all I needed for the 2. It's the same color family as the headboard fabric so I liked how it was similar and matched but still a nice contrast. The center blue pillow came from Stein Mart and matched so well I had to splurge and pay $20 for it. I already had the white bedding (I think originally from Overstock.com) and the polka dot pillows (originally from Etsy). The new throw blanket came from Home Goods ($20).

The cute glass lamps came from Home Goods and were only $30 each. I had a giftcard from Christmas so that was awesome. Plus I sold my old lamps on the FB resale site for $40 so logically I can say the lamp update was only $20, right? RIGHT?

I got the frames above the bed from Home Goods for $12 each earlier in the summer. I'm obsessed with the middle print I just bought from Printable Wisdom on Etsy. I love her stuff. I have it all over my house. Check it out!


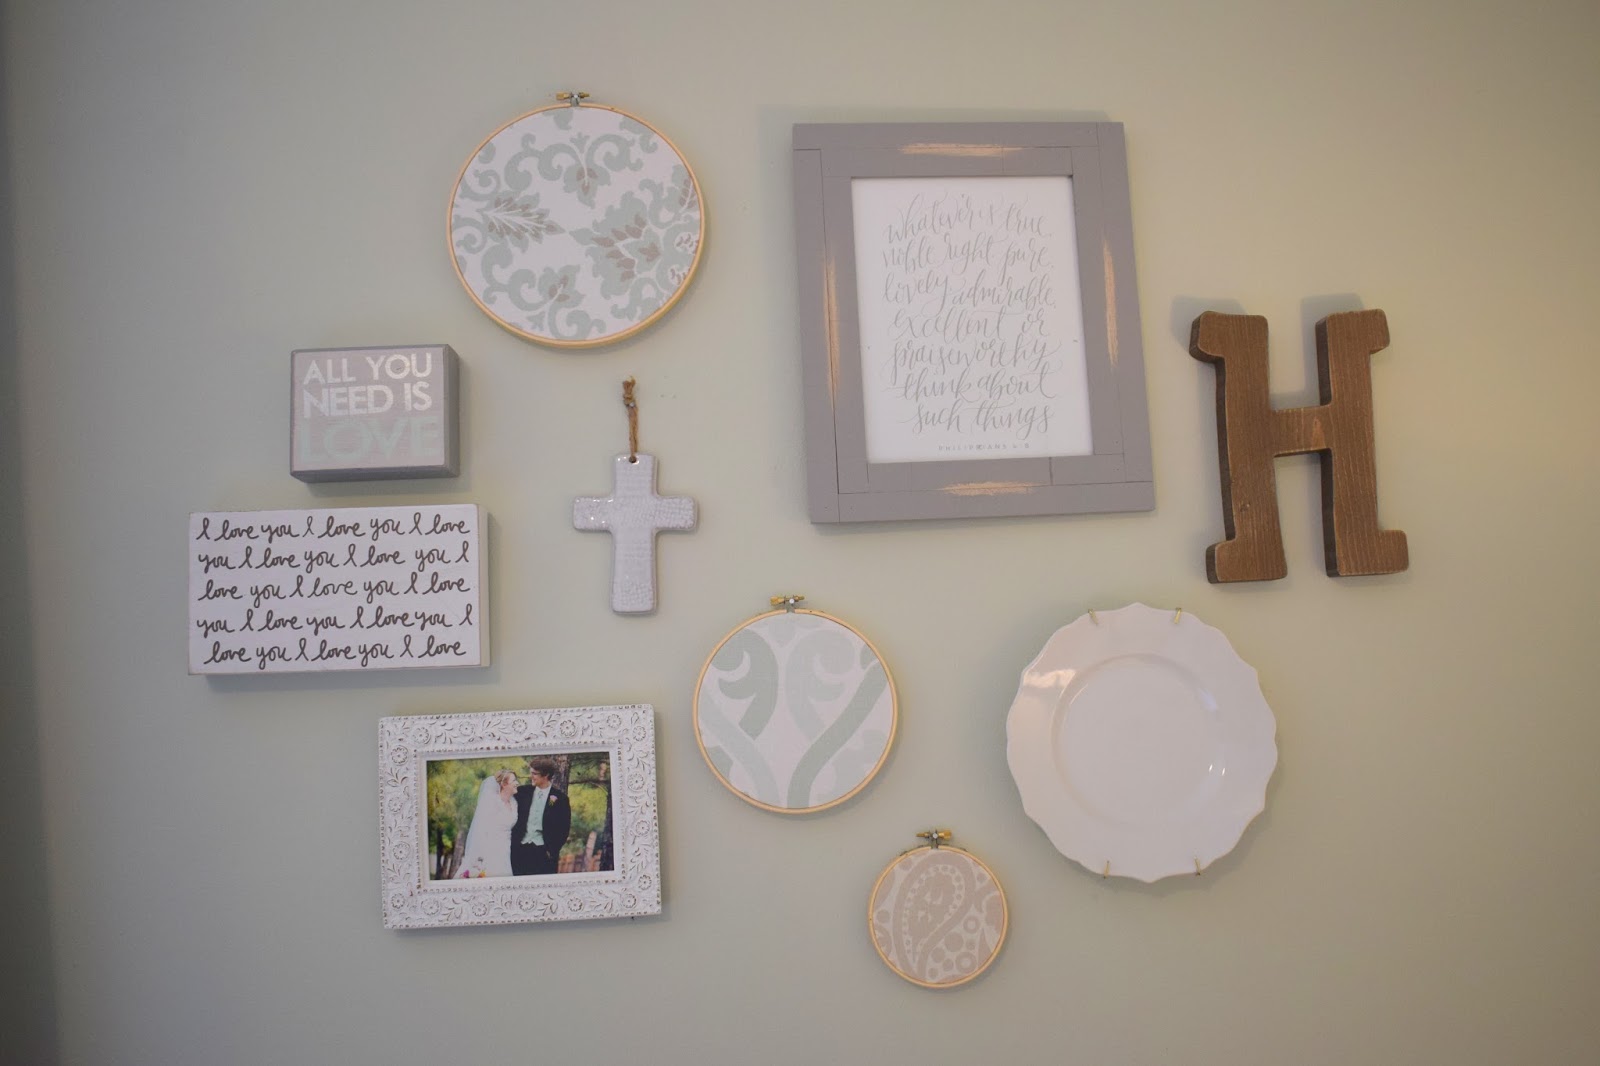
I updated my collage wall a bit with inspirational wooden blocks (naturally) from Ross and Marshalls  and embroidery hoops and more Printable Wisdom. And another "H" from Hobby Lobby just in case someone comes in our room and is like "BUT WHAT IS THE FIRST LETTER OF YOUR LAST NAME?"


I love my $30 Tuesday Morning curtains. They were so long so I had to hem them but they're so pretty and made with a linen blend which perfectly fit into my linen-esque vibe. 

And here are the things I didn't change:


I love this shutter photo display I found on the side of the road while taking Pres Pres on a walk in my hood. I have another one in my entry hall. See my post here for more details on that.


I got a new shower curtain for my bathroom a few months ago. I came across this one at Target and it matched so perfectly I couldn't resist it. I swapped out the orange fabric in the frames with some leftover fabric from my headboard. Super easy fix.


I'm so happy with how our bedroom finally turned out. It only took 3 years.

Another thing I felt a calling to redo a bit was my dining room. Last January I completely redid my dining room. Like painted the walls, furniture, etc. I still love most of it but wanted to change just a few things. 

I loved the previous fabric (that was only a year old) on the chairs but the blue clashed a little with the blue walls and I never found the inspiration to bring more yellow into the room like I thought I would. I went to Premier Fabrics (duh) and fell in love with this new fabric. I brought home a swatch and we made an instant connection. It serenaded me with a love song and I was hooked. Decision made.

Changing out chair fabric is so easy. Just unscrew the cushions from the chair, staple the new fabric to the bottoms, then screw them back onto the chair. It took maybe 45 minutes from start to finish. I ended up selling the old fabric on FB resale for $10. The new fabric was $16 so this change was technically only $6! I only needed 2 yards to cover 6 bottoms. 

Old:

 New:

Last year I also made a plate wall. The floral and colored plates never looked quite right. I just traded them out with white ones. I kept the 2 beige ones from Target because they still matched. You can find plain white plates everywhere. I got most of mine in the clearance section of Tuesday Morning as well as Home Goods and Target. I love the different patterns and shades of white. It makes it interesting but still neutral. Now I'm looking for any excuse to eat a meal in here. And you thought plates were just for eating on...shame.

Old:

New:


So those were my main focuses. BUT! My dad bought us a beautiful new front door for Christmas and I'm so excited to get it installed. It'll totally change the look of our house and entry hall. I'll post pics of that soon.

Also, I've been continuously working on Presley's playroom/future big girl room for a while now. Like every other room in my house it's always changing and evolving. It's finally really coming together. Plus I bought an adorable light fixture from Ikea that I can't wait to install. Pics of that to come as well! 

But until then, my baby turns TWO in 10 days and we're going all out with a kitty cat party. She's so excited and of course I've been planning this for 6 months don't judge me so I think I'm MOST excited. I've already started setting up decor and I just can't wait. Of course there will be a post to come. I can't wait to share in a few weeks! 

As always, if you've made it this far thanks so much for reading and HAPPY 2017 ERREBODY!

Saturday, January 7, 2017

Snowy Nummies: Tomato Soup & Pizza Burgers

I live in Memphis where it snows like 1-2 times a year (2+ if we're really lucky). Usually we just get a dusting and we freak. out. Kids are out sledding in basically cold, wet grass and having the best time of their lives. the grocery stores have NO bread or milk (side note: WHY are those the 2 things we don't think we can live without? I could totally live a few days without those things. Now bacon and chocolate on the other hand...). I love how crazy MEM gets in the snow. It's the little things. 

How Memphis sees it:

How the north sees it:

What actually happened:

Occasionally, though, we'll get a really good one. Like an actual good one that we can all agree on. This year on January 6 (mind you it was kinda warm on Christmas less than 2 weeks ago) we got a pretty good snow! It wasn't our best by any means but it was still so beautiful. Usually our snow doesn't come until late February or March so this was a real treat so early in the year. 

I love waking up to a winter wonderland. Presley and I got up around 8:30 (Matt was already at work) and it was still snowing. The peaceful stillness a snowfall brings literally brings tears to my eyes. Just watching it come down. There's nothing like it. Especially in my own neighborhood. Seeing it covered in a fresh layer of white makes you see it from a whole new perspective. It turns something seemingly mundane into a beautiful work of art. Thank you, Jesus, for these special days. 


I thought Pres would be hesitant to go out in it but she just went for it. I had her all bundled up in her cat hat, gloves and rainboots (these are a few of her favorite things) so she was on cloud 9. While I was reveling in its beauty, however, she was calling it "poop" and freaking out when it got on her boots. Not crying but stopping, pointing and yelling "POOOOOOP POOOOOOOP." You know. Naturally. 

(Fun story: A few days ago she handed me something saying "poop." I took it without looking because she calls everything poop. I look down. An actual dog turd was staring back at me courtesy of our dear furry friend "ALF." #ThanksGirl). 

Our houses look nice dressed pretty in white.


On snow days I always feel the need to be extra cozy. Hot chocolate, warm food that melts my soul, heated blankets and lots of Disney movies (which always has to include Frozen because DUH). I made Pres a sippy cup of "warm" chocolate and she downed it. I'm talking DOWNED. Then promptly followed with "more more." My girl. 


I wanted to share a few recipes that I love on frosty days. I didn't make these this time because this snow caught me off guard and I wasn't about to head to the grocery store (because, you know, it's Memphis in the snow). 


This soup is so cheap, easy and yummy. It's my go to for any fall/winter evening. I love to pair it with grilled cheeses. I like to make them with a nice, thick bread and cheese from the deli to make them EXTRA fancy and delicious. 

INGREDIENTS
28 ounce can Crushed Tomatoes
4 cup Chicken Broth
1 tsp Oregano
1 tsp Basil
1 cup Heavy Cream
1 tsp Salt
1 tsp Pepper
2 tbsp Butter

DIRECTIONS
Add tomatoes, chicken broth, oregano and basil to crock pot. Stir well.
Cook on high for 4-6 hours or low for 8 hours.
Strain soup and puree chunks in blender (I use my immersion blender directly in the crock pot); return puree to slow cooker.
Add cream and butter and stir well.


Another recipe that's good all year long that I recently found on the internet is PIZZA BURGERS! Yes it's as good as it sounds. Perfect for a frosty evening or even a summer meal around the pool. This recipe comes with a video demonstration as well which I think is obvs exta cool (click link above where it says "pizza burgers"). Believe me, I'm not the greatest of cooks and if I can make these anyone can.


INGREDIENTS
1 lb. ground beef
2 garlic cloves, chopped
1/4 c. chopped parsley
kosher salt
Freshly ground black pepper
2 tbsp. vegetable oil
4 slices mozzarella
8 pepperoni slices
2 c. jarred marinara
4 Italian rolls (or hamburger buns)
2 tbsp. melted butter
2 tsp. garlic powder
1 tsp. Italian seasoning
1/4 c. grated Parmesan

DIRECTIONS
Preheat oven to 350 degrees F.
In a medium bowl, combine ground beef, garlic and parsley. Mix with spatula until just combined. 
Using your hands, form 4 equally-sized patties. Season both sides with salt and pepper to taste
Heat oil in a large skillet over medium-high heat. Add the burgers and cook for 4 to 5 minutes (for medium). Flip the patties, then immediately pour marinara around them in the pan. Simmer for another minute, then top each with cheese and 2 slices of pepperoni. Cover pan and cook until the cheese melts and the burger is cooked to your liking, about 3 minutes more.
Meanwhile, make garlic buns. Brush melted butter on each half of the rolls. Sprinkle both sides with garlic powder, Italian seasoning, and parmesan. Bake until golden, about 10 minutes.
Spread a dollop of marinara on each bottom bun followed by cooked burgers and the top bun halves.


So there you go! We've made the tomato soup probably 10 times. I've been meaning to share this finding with the world (or whoever actually reads these posts) for a while but haven't gotten around to it. But the snow has inspired me and here I am...finally getting around to it. ENJOY!! And may the good Lord bless you with many magical snow days this year. Happy 2017!


Tuesday, November 1, 2016

Wicked Halloween Costumes

So it's July again...I mean...October? FINE I'M WRITING THIS IN JULY AGAIN DON'T JUDGE ME OKAY!!

When I'm lying awake at night I do weird things like watch random cake tutorials on Youtube that I will NEVER use, try and figure out a theme for my daughter's 2nd birthday (BECAUSE SHE JUST TURNED 18 MONTHS I'M SO BEHIND), and research family Halloween costumes because...well just because. I saw so many cute ideas but the next day Presley was walking around in the front yard with her broom embarrassing me (per usual) and it hit me. Why WOULDN'T she be a witch??


I know it's weird to dress my cute little girl up as a witch for Halloween but it just made so much sense! She is OBSESSED with her brooms. This red one is the nasty one that lives in the garage to sweep up spiders, dirt and other nasty stuff so naturally it's her favorite. If I want to take her outside to play we have to go through the front door because if we go through the garage she's going to grab the broom and that's that. The broom will go on our walk with us, will be pushed around in the wagon and basically will be treated like a prized turkey (idk first thing that came to mind). She got a little Pres-sized broom and she loves it but this one holds such a special place in her heart. She throws a huge fit when it's time to go inside and she has to leave the broom outside. I know I know. I'm such a mean mother for not letting her cover my kitchen in misc nasty broom debris.

We love Wicked (and by we I mean I do) so I was excited to incorporate that into my witch theme. We already have one Elphie in the family (our dog), what's one more? I was to be Galinda, Matt Fiyero/the scarecrow (because he wasn't into the idea of an outrageous costume this year and this was simple), and lastly, of course, our Elphie had to be a flying monkey because she's already Presley's sidekick and it just had to happen (don't judge me for making my dog a costume).

These costumes were pretty simple and cost me $100 exactly (weird) for all 4 which isn't so bad. That doesn't include all of the super random things I had on hand already though.  


Elphaba


This costume cost me $26 to make

What you need:

 Black shirt (childrensplace.com)
Leggings (childrensplace.com)
Black shoes (found for $1.50 at a consignment sale)
1/2 yd black satin fabric for cape
5 yds black tulle for tutu
1/2 yd black felt
Black ribbon for tutu
Decorative black ribbon for cape/shirt accent
Green ribbon for hat
Sticks and jute ribbon for broom

The broom was so easy! I just collected some sticks (one bigger one and lots of little ones) and hot glued them onto the bottom of the bigger stick one at a time. After they were all secure I hot glued some jute around the bunch. Not quite the same as Presley's beloved but she doesn't discriminate. She still wouldn't put it down.


I found these leggings on Childrensplace.com for $4 with free shipping. They were perfect! Somehow at the end of Halloween night the entire butt of them was ripped open. Only a toddler. To that I say RIP to these leggings. At least they served their purpose and were super cheap. A few months ago I was at a consignment sale on 1/2 price day and got these black shoes for $1.50. WHAT A DEAL!


I pulled up a tutorial on making a witch hat but there were so many steps and alot of sewing and I was like "there has to be an easier way." I made a cone out of the felt and hot glued it together. Then I traced a big circle using a bowl. I cut a smaller circle out of the middle of the big circle the same size as the cone opening. Then I just hot glued everything together! I made the bow with wire-edged ribbon and hot glued elastic inside so it stays on her head. 


Of course she'd only wear it when it was HER idea...not mine

Example of it being my idea:


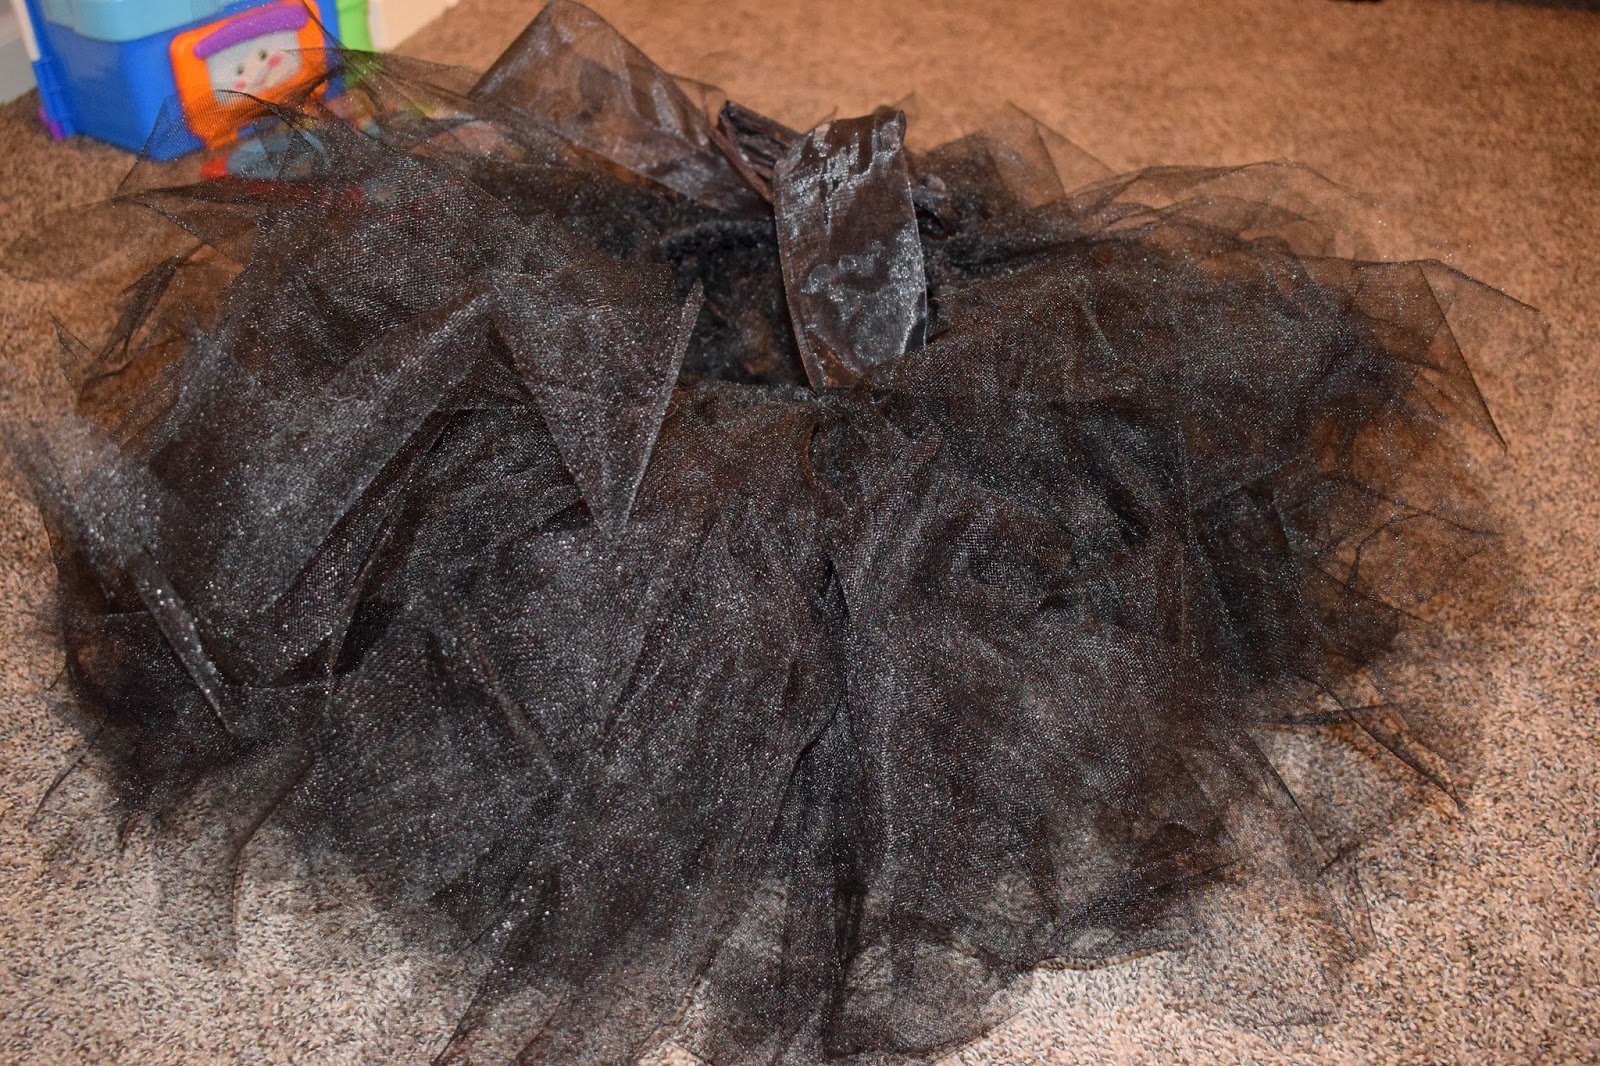
For the tutu I just cut out strips of tulle and slip knotted them onto a fat black ribbon. I doubled the tulle per strip to make it thicker. I made 2 tutu's last Halloween so I already knew how to do it but here's the tutorial I used last year:


For the cape I just cut out a triangle of fabric. I love this cheap, satiny fabric because it's just like ribbon! You don't have to hem it, you can just burn the edges with a lighter and it melts (appropriate for a witch?) and keeps it from fraying. I got a yard of this at Hobby Lobby for $3 (with my coupon) but 1/2 yd would've been plenty. I found this decorative ribbon at Hobby Lobby 1/2 off for $2 a spool. I sewed it around the edges and also used it to decorate the black shirt.


I tried to "paint" her face with really green eyeshadow but it faded so quickly it was pointless. I wasn't about to put bright green paint on my 21 month old's face. That was a smear disaster I thought I'd avoid while I was ahead.

Galinda


This costume was the most expensive at about $55 total

What you need:
 Cinderella costume dress (Ebay for $19)
4 yds shiny blue fabric for skirt scallops (Joanne)
Jewels for bodice (Michaels)
Piece of stiff white felt for collar (79 cents at Hobby Lobby)
Crown (Ebay for $4 including shipping)
Dowel for wand (79 cents at Joanne)
Decorative star or wand topper
Metallic silver spray paint for wand

I didn't know where to start with this one so I did what I usually do! I found a base to work with. It's so much easier than starting from scratch. I found this Cinderella costume on Ebay for $19 (including tax and shipping). It was the perfect starting point.


 Of course it came and was a crinkled mess. And why do costumes have to be made with the cheapest fabrics?? It was pretty poor quality but that's to be expected with an adult costume like this. I started by steaming it and getting a lot of the wrinkles out. I was scared to iron it because I think the fabric would melt. It feels almost plasticy. But, like I said, it was the perfect starting point.

I started with completely remaking the skirt. I loved the scalloped skirt on the original dress. I thought it was important to carry that aspect into my dress. I got 4 yards of this shiny fabric at Joanne. It was on sale for $6 a yard but I had a 25% off of the total purchase coupon so it was about $18 for all of it. I made 3 scallop templates in different sizes. Bigger ones went on the bottom and smallest on the top. I doubled the fabric over and pinned the template to it so I could cut out 2 at a time.


I started at the bottom (now we're here..sorry) and pinned the larger scallops in a line around the bottom of the original skirt. I used clear thread and just sewed them across the tops  of the scallops. I kept building up to the top, which was alot trickier. 
I can't really explain what I did at the top. I had to sew them from the inside so they'd fold over and wouldn't show the ugly edge at the top. My sewing machine kept messing up (because clear elastic thread is the WORST to work with) so I ended up hot gluing alot of them. But hey! Whatever works. It turned out fine. 
I liked this fabric because, like the cape fabric, it was made of a ribbony, plasticy material so I could burn the edges to keep it from fraying. I was NOT about to hem all of these pieces.
I sewed an inside skirt as well made of solid white fabric. I'm not sure what my thought process was behind that other than I thought it'd make the blue more vibrant if white was behind it. Although it was kind of pointless it did make it alot more comfortable. Before my legs were against scratchy, plasticy tulle but now I have a soft, cotton barrier. 


I also had to take in the sides some because it was like a sack and I wanted it to be more fitted. I also removed the little butterflies. 

Next I made this collar like in the original picture. I used a white piece of stiff felt (on the felt aisle). I cut out the shape then hot glued wire along the 2 sides. I folded the felt over the wire to hide it. That way it'll hold it's shape when it's curved over. I hot glued a white ribbon to it to connect to the dress. I hot glued one piece to the dress and ended up making a button contraption for the other side so it'd be easier to put on and take off. I used my machine to make a button hole on the ribbon and sewed a little button inside. It actually worked!


To tie the skirt fabric into the top I cut out a strip of it and just hot glued it to the top center. I got these jewels from Michaels and hot glued them to the front. 


I was so impressed with this crown from Ebay! It's so heavy and well made. It came from China and only took a week to arrive! Since it was $4 with free shipping I wasn't expecting much but was pleasantly surprised. Every time Pres sees it she brings it over to me and puts it on my head. She already knows I'm the queen around here.


I bought this pink shiny star ornament literally in middle school at Target and it hung in my bedroom on my mirror. I've kept it around ever since and I have absolutely no idea why.  Well it finally paid off because it was just what I needed!! I used a combination of hot glue and E6000 glue to attach it to the dowel and spray painted it silver. After it dried I hot glued little clear jewels onto it that I had on hand.


Scarecrow


This cost $5. Very expensive

What you need:
Overalls and a flannel shirt (had)
Straw hat (Michaels for $3)
Pack of raffia ($4 at Hobby Lobby)
Thick elastic for arm bands
(I used a 40% off coupon for both of the purchased items)

All I did was cut out pieces of raffia and hot glue them around the edges of the hat. I also made elastic arm bands so Matt could comfortable wear the straw at his wrist so it would poke out of the shirt sleeves. He could easily remove them and I didn't have to ruin the shirt.


Flying Monkey


About $14 for everything

What you need:
Small blue shirt (Hobby Lobby for $2.50)
Red, white, & 2 shades of brown felt
Brown fluffy tail ($2 at Hobby Lobby)
Tiny top hat ($2.50 Hobby Lobby)
Wings ($5 on Ebay)

I started with the tiny hat! I found this little top hat and first I LOLed because WHY is that a thing but then I reveled in the fact that it was perfect and exactly what I needed.


I just cut off the bill and tada! I used acrylic blue paint and just painted it blue. Covering it in fabric or felt was proving to be way too difficult. I cut out a red chevron strip free-handed and very poorly but no one will notice. Then I glued it onto a piece of white felt then I cut out the white felt around the red so I got the shape as similar as possible. Then I made a little felt buckle and felt ears. I glued the elastic on then glued the ears to the elastic. So easy!


For the "coat" I just bought a 12 month children's tshirt at Hobby Lobby. I cut it down the front and glued velcroe to it so it's easy to put on and take off. I used the same technique as above for the felt designs here. Cut out the red, Glued it to the white. Then cut out the white. Then I hot glued it to the shirt.


I bought this big pipe cleaner lookin thing that was a perfect monkey tail. I hot glued it to the inside bottom edge of the shirt then hot glued a piece of thick cardstock (actually from the packaging of the tail) to the shirt as well. This keeps it from flopping all over the place. 


Here's Elph at her final fitting before the wings. As you can tell, she loves it and isn't petrified at all. She LOVES Halloween


I got these butterfly wings on Ebay for $5 including shipping. They arrived in like 3 days (I was in a real time crunch here because I only had 3.5 months to get this done)! And they also came with a wand and headband so obviously I was excited about that. I ended up cutting off the bottom part of the wing and painting acrylic black paint over the design. You can still see the butterfly design thru it but at least it sealed in all the glitter and isn't as noticeable. SO MUCH BLACK GLITTER EVERYWHERE!! Bonus: Pres is obsessed with the headband it came with so win. After I had ripped them apart and painted them I just hot glued them into place. Surprisingly it worked! WHAT WOULD I DO WITHOUT HOT GLUE??


Seriously, not hard at all. Anyone could do it. I hope you enjoyed! I can't wait until Halloween next year obvs. Such a fun holiday! And guess what day it (almost) is!!!! Thanksgiving!!! then.........CHRISTMAS CHRISTMAS OMG I LOVE IT SO MUCH! Can't wait! I love this time of year so much. Cool, fall weather (HOPEFULLY soon), pumpkin candles, Halloween, turkey, Black Friday, Christmas music. It's so magical. Until then!